For this project I did not really storyboard, I had a mental image of what I wanted to do from the ideation that we had conducted as a group and I jumped straight into prototyping environments for the character to be moving through. With the required 5 week turn around of this project, we all agreed that trying to create the assets for our environments from scratch was going to be too time consuming at our level so the use of Quixel Megascans assets and UE Store assets are used throughout. From the ideation of the project, I saw myself attempting photorealistic environments and wanted to aim for something very nature oriented but also for something denser and more stressful like a city.
Below we can see my first lot of prototyping for a natural environment, this was my first time properly using the new application Unreal Engine 5 so I used it as a means of getting comfortable with the software and its new lighting techniques. I also used it to source some trees and foliage from resource packs provided by the software provider Epic Games.
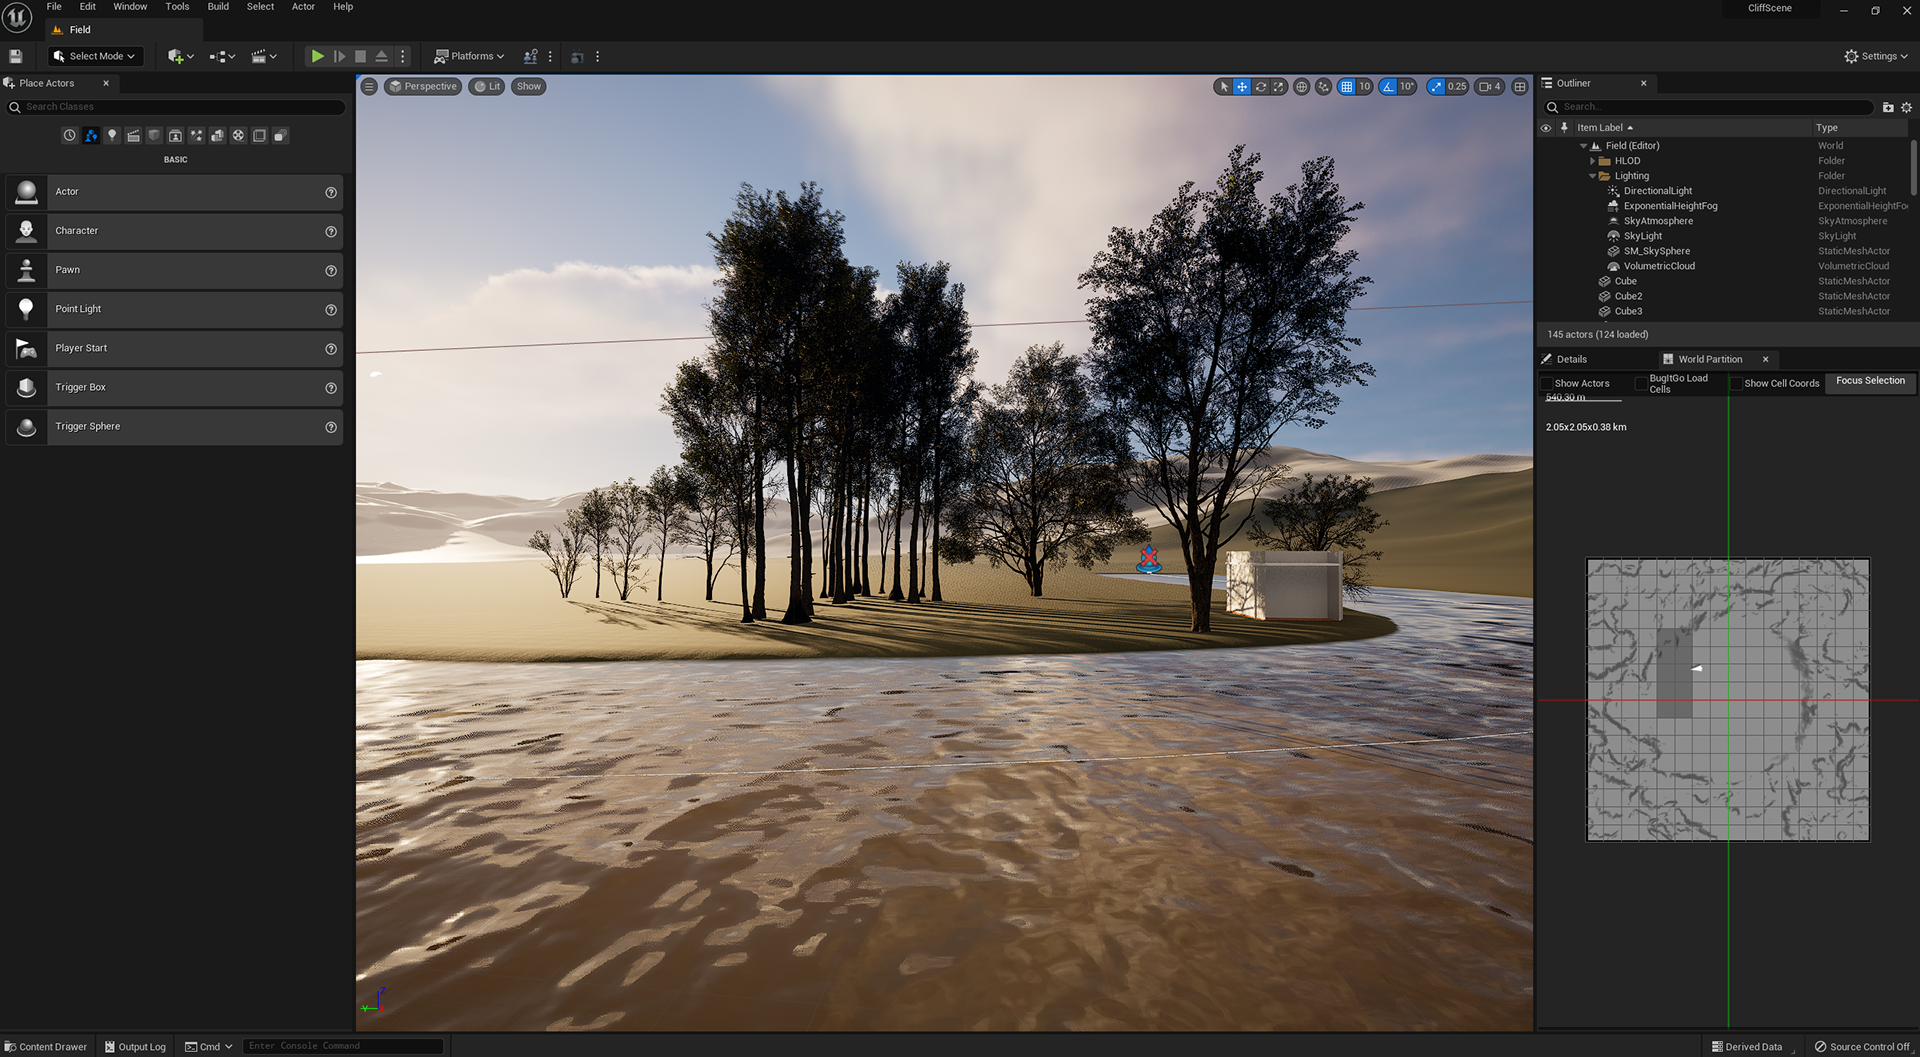
With how well the trees looked in this new engine, I figured I would want to try and pull off a dense forest scene, something that feels like it's well detached from society as a “getaway” for the character. I also wanted to incorporate a river and the software had a really nice way of integrating that into the scene quite effortlessly.
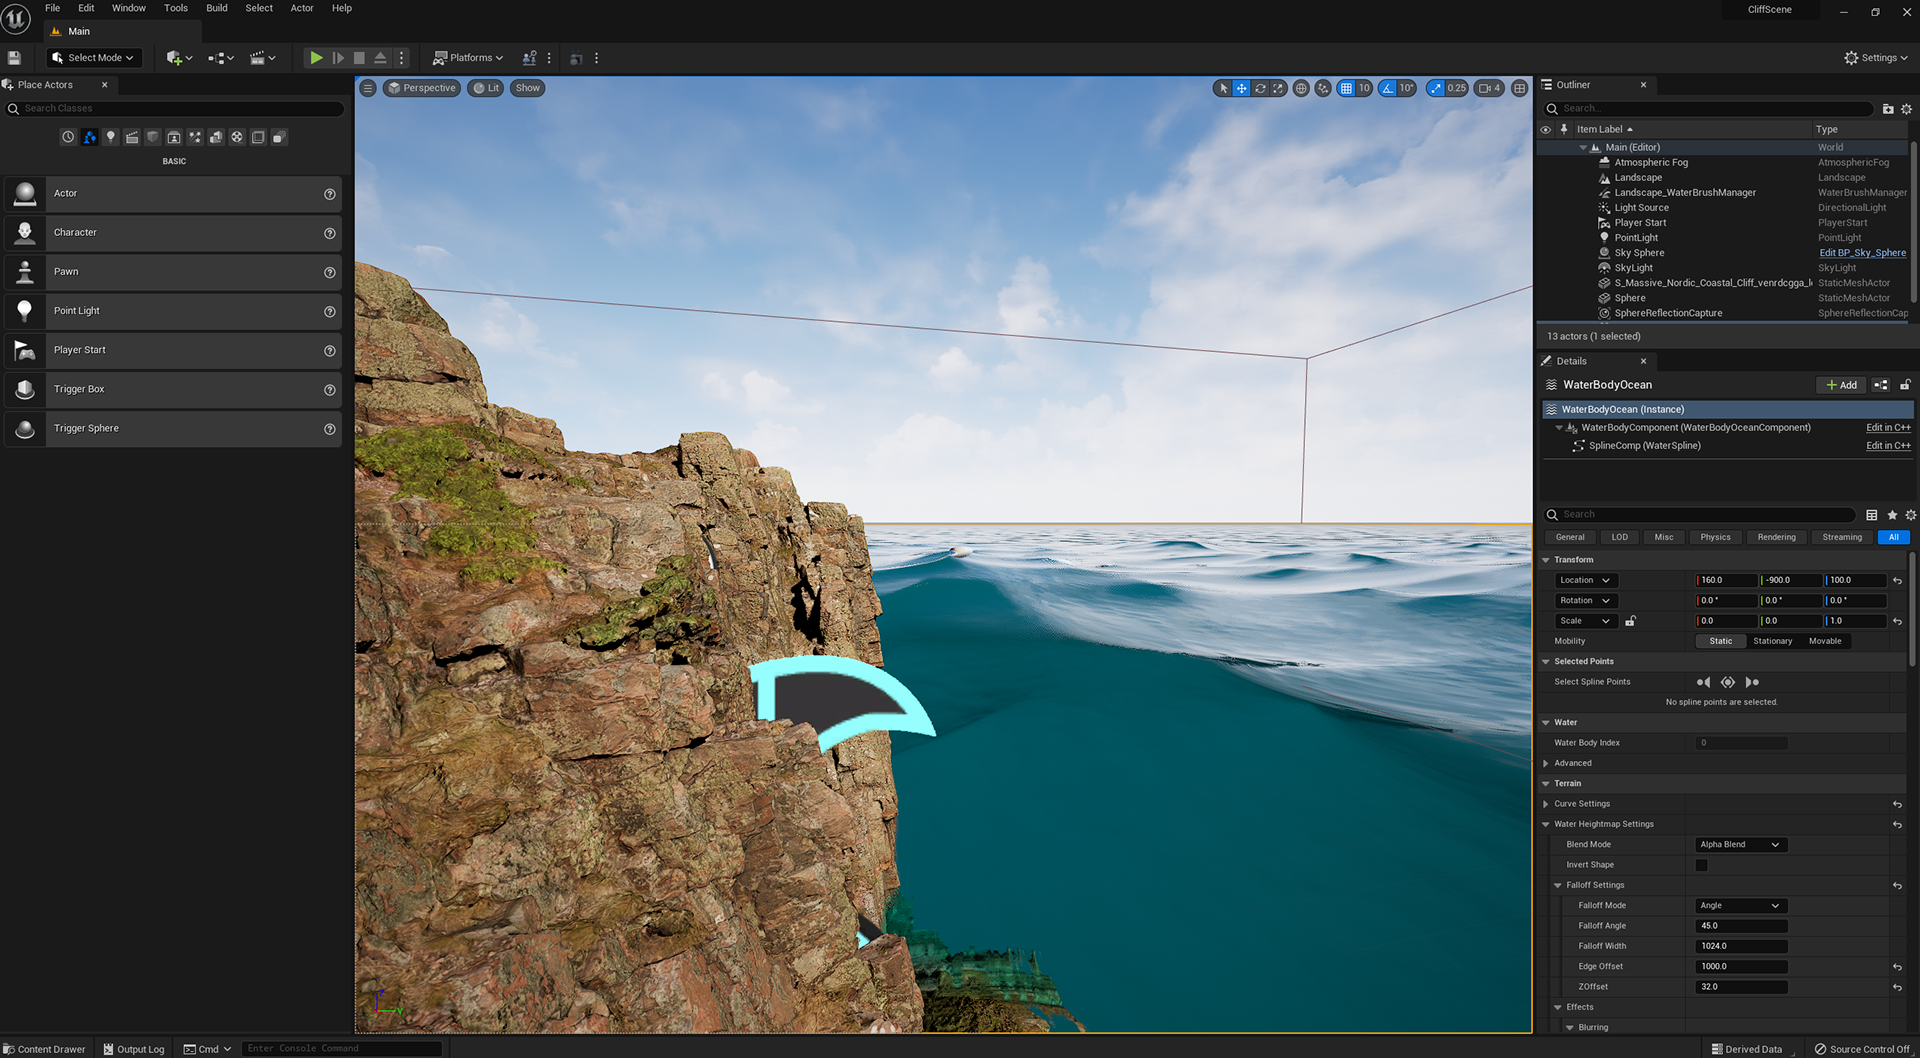
With how simple the water seemed to be to work with in this new engine, I had the idea for an ocean cliff like scene, something that could be dramatic and moody with the harsh ocean. Below is a draft of trying to get the ocean effects working to a level that was wanted to pull off the scene, but this proved too difficult early on to deal with that level of volume so the scene was abandoned.
To really add the layers needed for this layer it would’ve taken multiple different simulations stacked to create the foam, impacting waves with the rocks and so forth to really pull off the shot. These are shots that are still difficult to pull off for full scale production houses of today, something that would have been very very time demanding and computer straining. The rest of the scene on the other hand would have been relatively simple in contrast, a cliff face, some foliage and potentially a stormy sky.
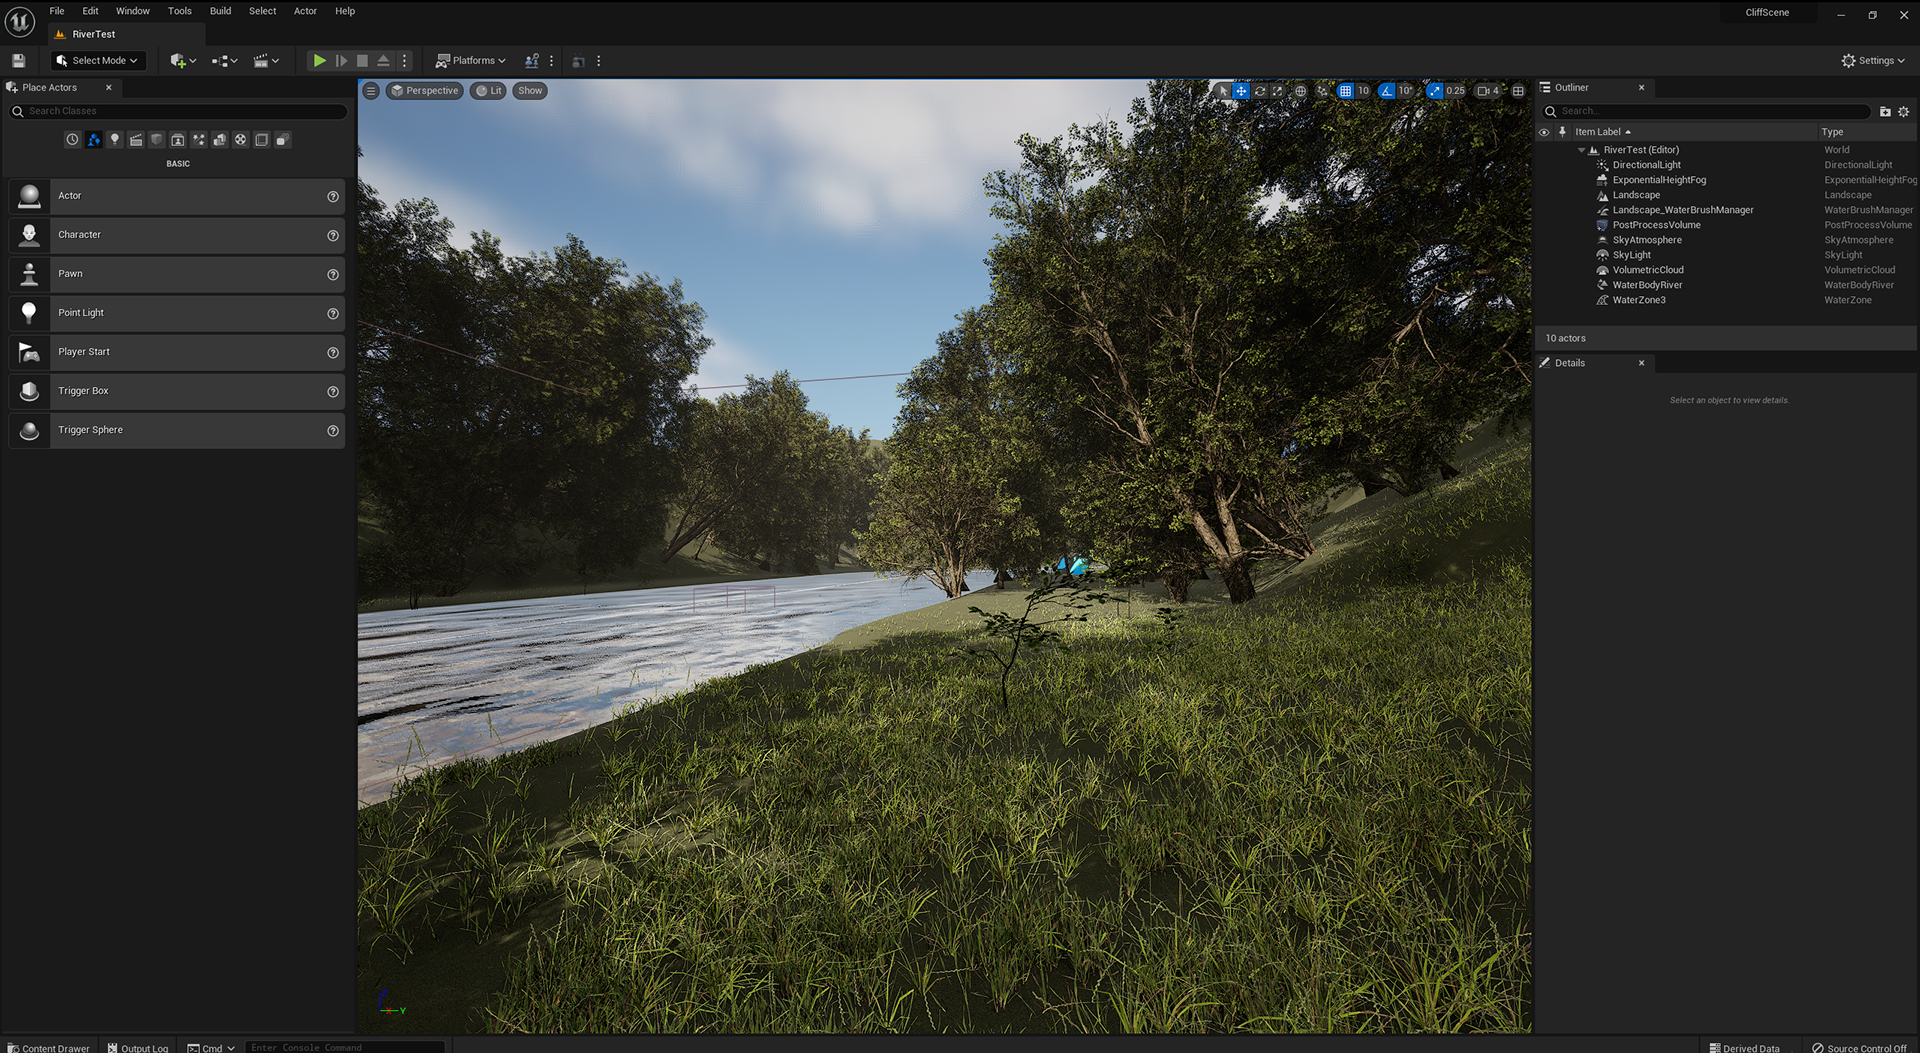
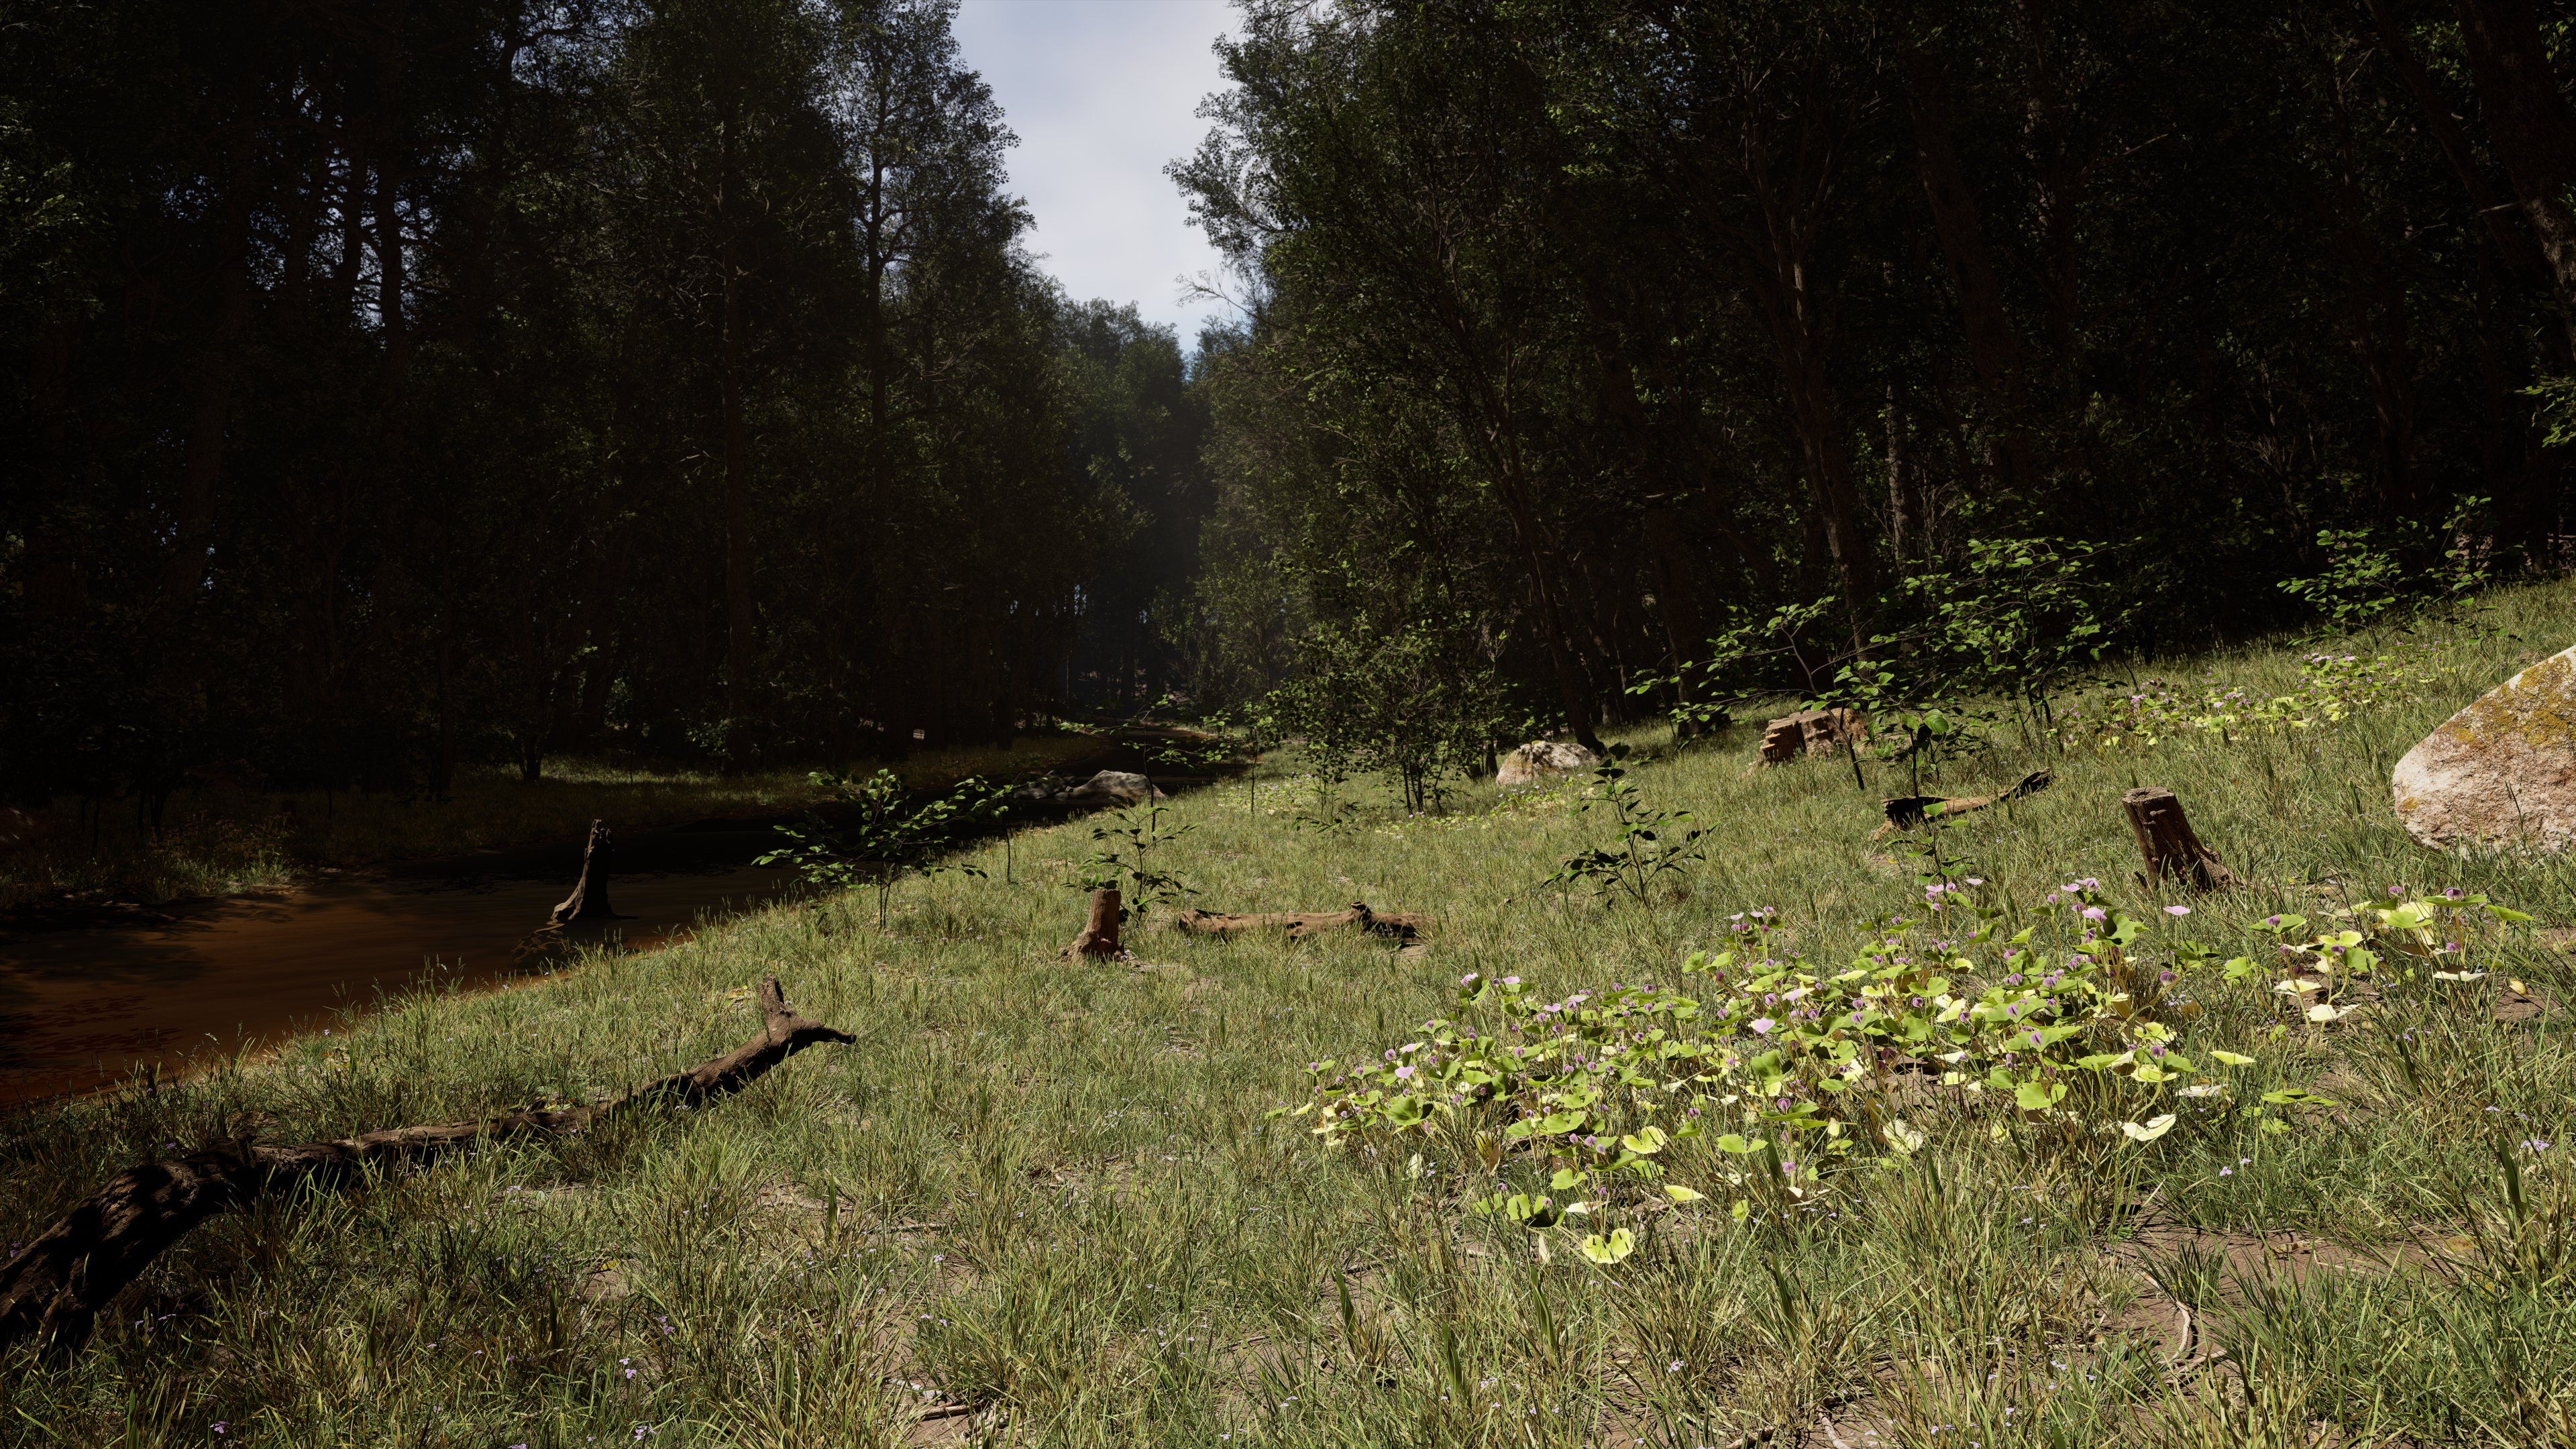
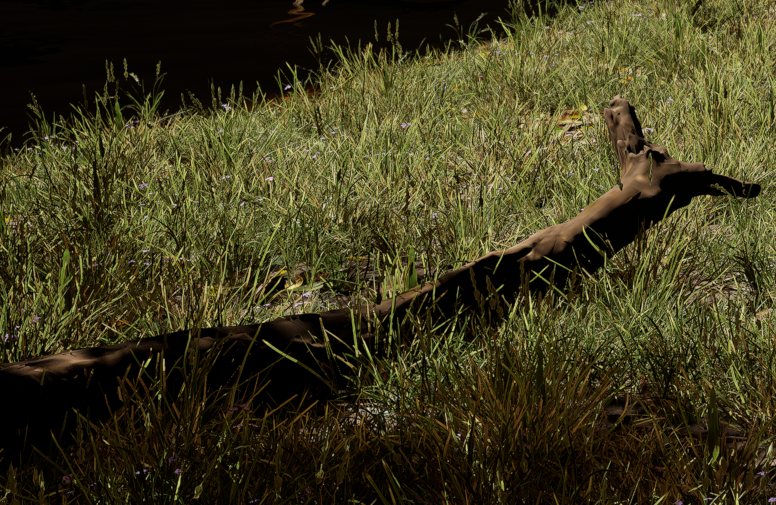
Below again we can see my first draft of a forest like environment. This first draft taught me I would need to be careful with the structure of the terrain and the tools as they were quite sensitive. It wasn’t quite as simple as other programs I've used such as Blender where you can manipulate noise textures on the plane until it resembles something you’d like to use. The river's shape and size impact the terrain's topology and that topology is an important part of hiding the bounds of the landscape and making it feel like it blends into the sky. The river pre-set has the ability to be bent and manipulated like a curve, as well as influencing its depth and colour and the speed of the current. All of these were interesting features to learn to implement successfully into a scene.
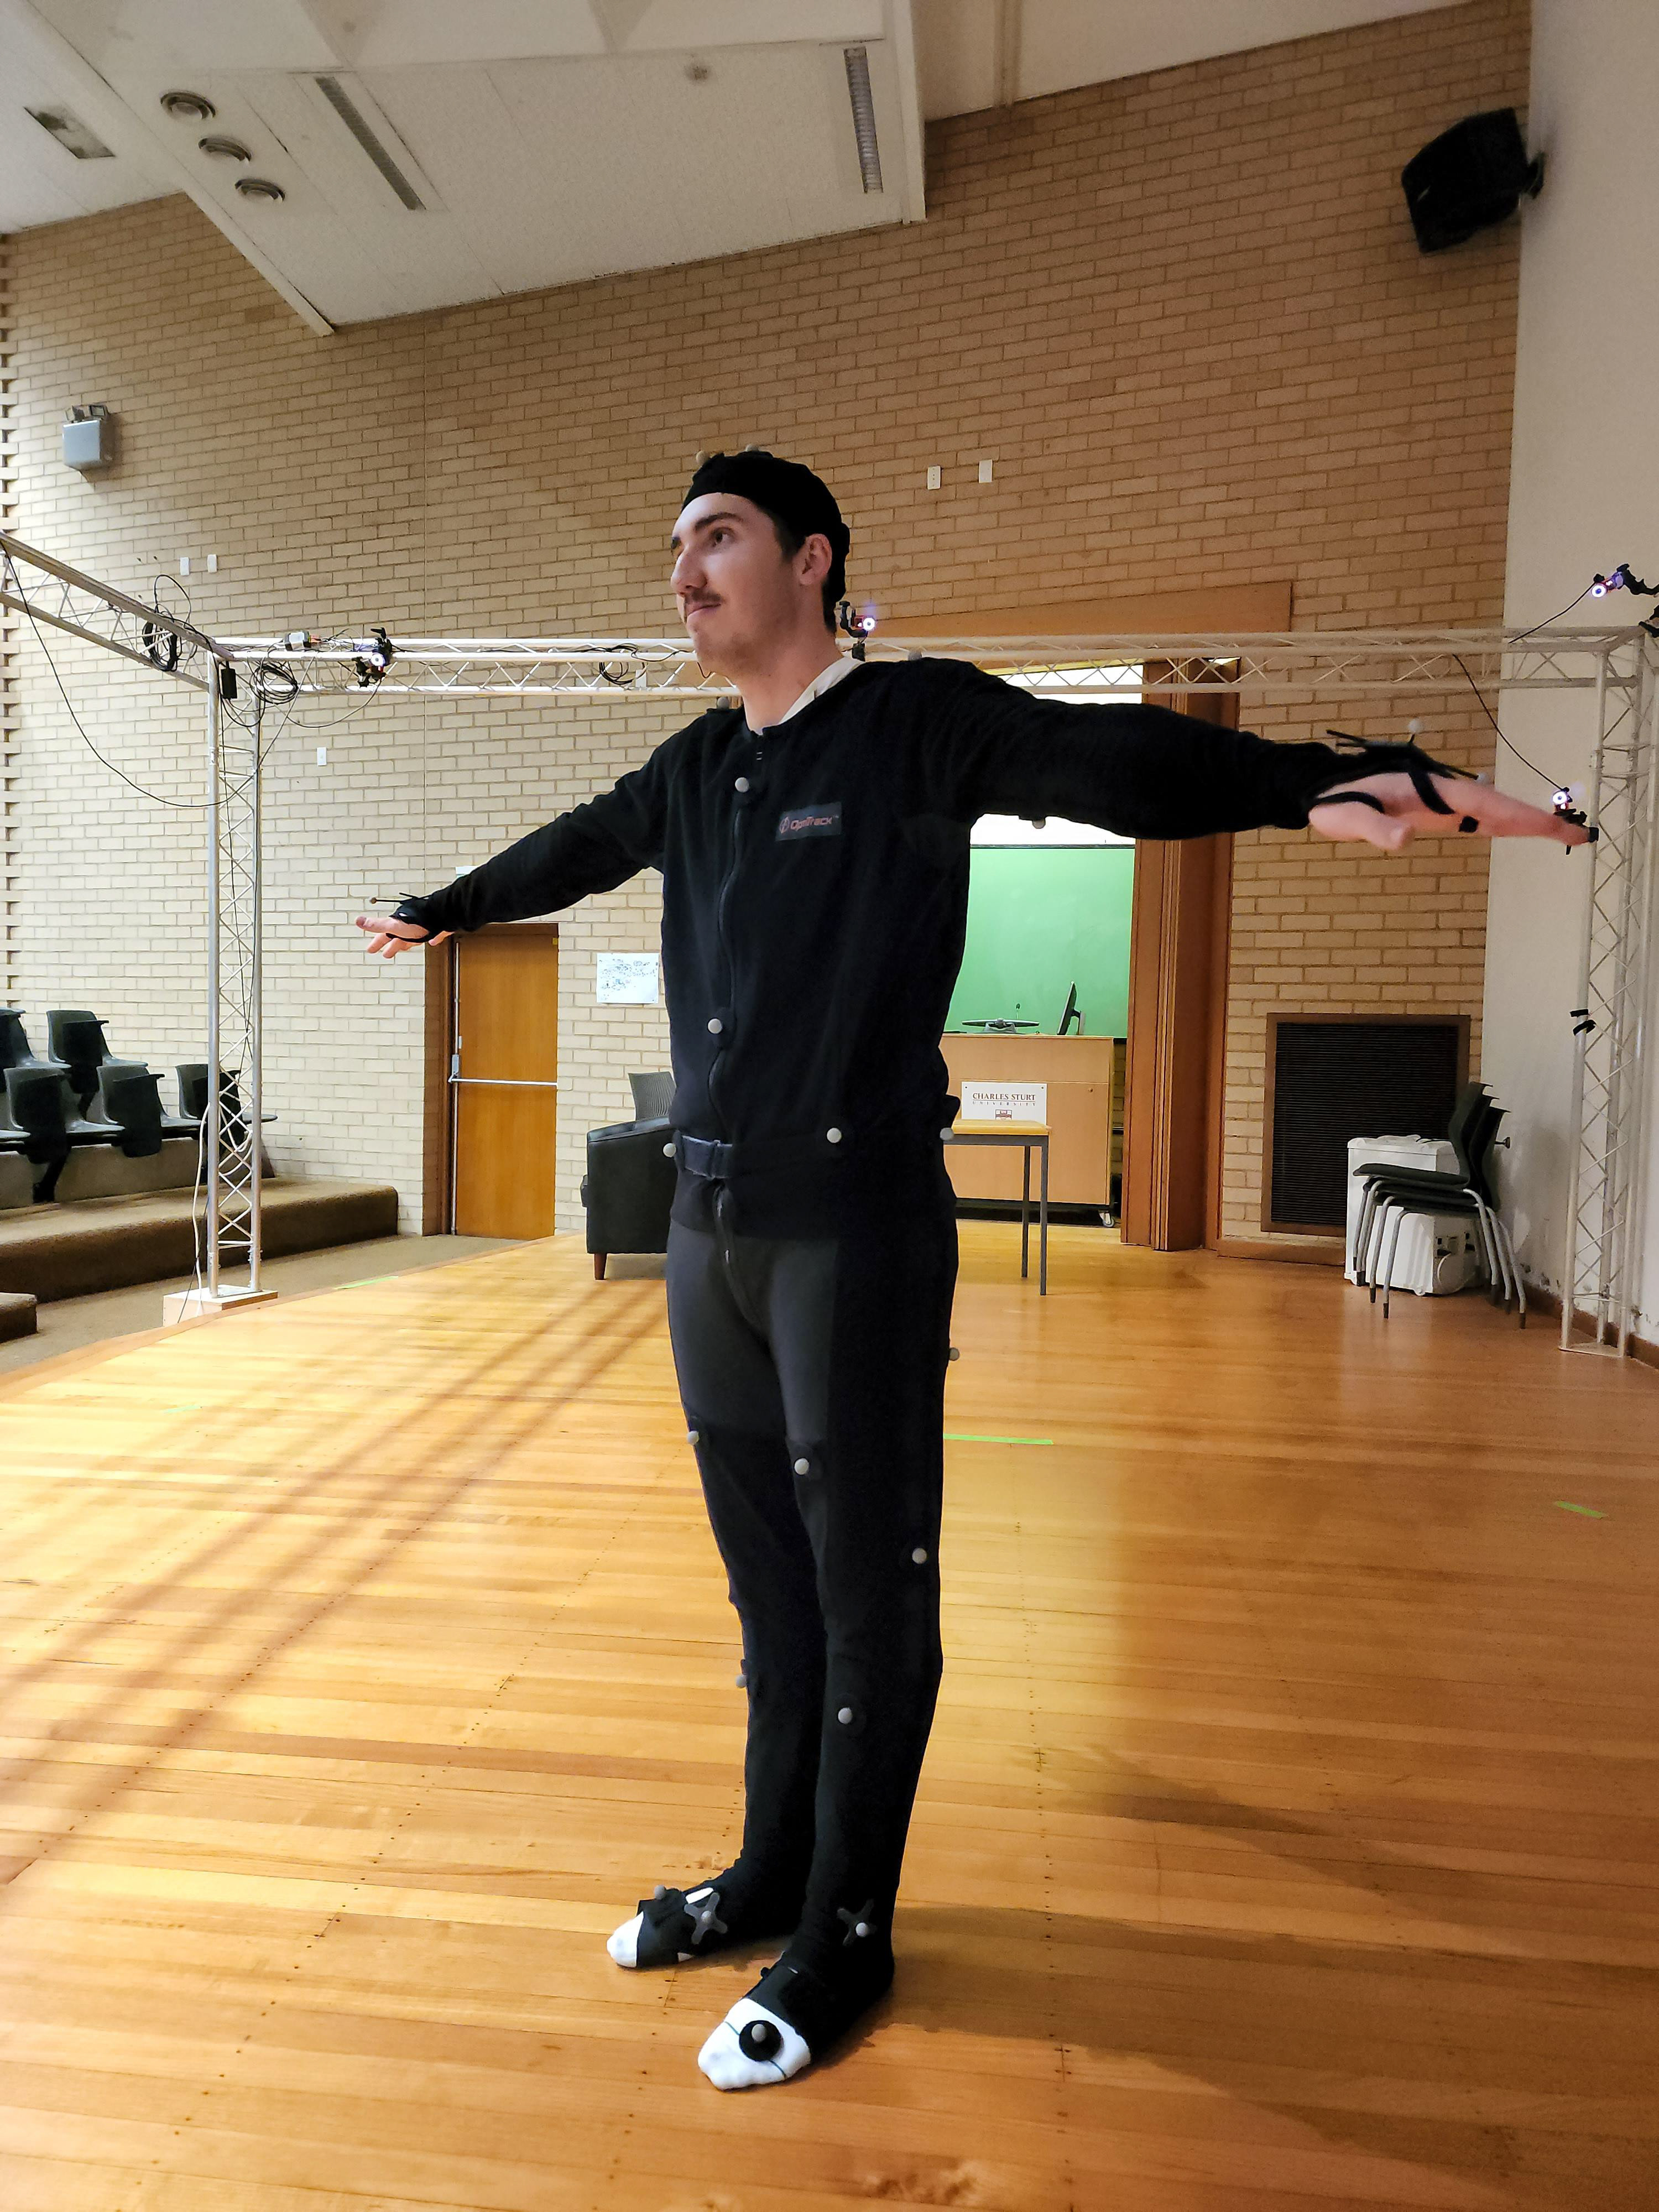
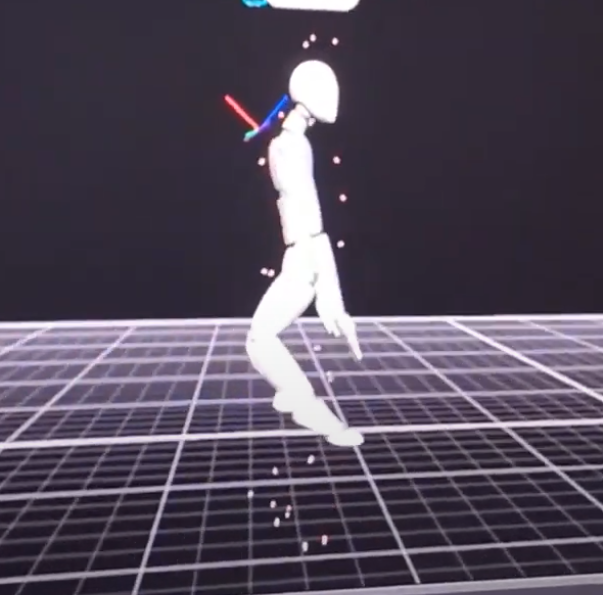
With our first demos of our environments starting to come together, we got together to begin trying to get our grand idea of utilising motion capture to simplify the animation pipeline. Our first attempt seemed successful at the time, but small inaccuracies in the capture of the leg data saw the original recordings unusable besides for comedic purposes.
For the second demo of the forest level, I aimed to up the level of foliage in the scene to better understand how it impacted my computer's performance while creating the scene, as well as how it affected render times so I could get a better understanding of the timeframe i would need to complete me work. It was also a good experiment to try out the foliage tools within Unreal Engine to scatter grass, rocks, stumps and other debris throughout the level to make filling in the scene feel more organic and random.
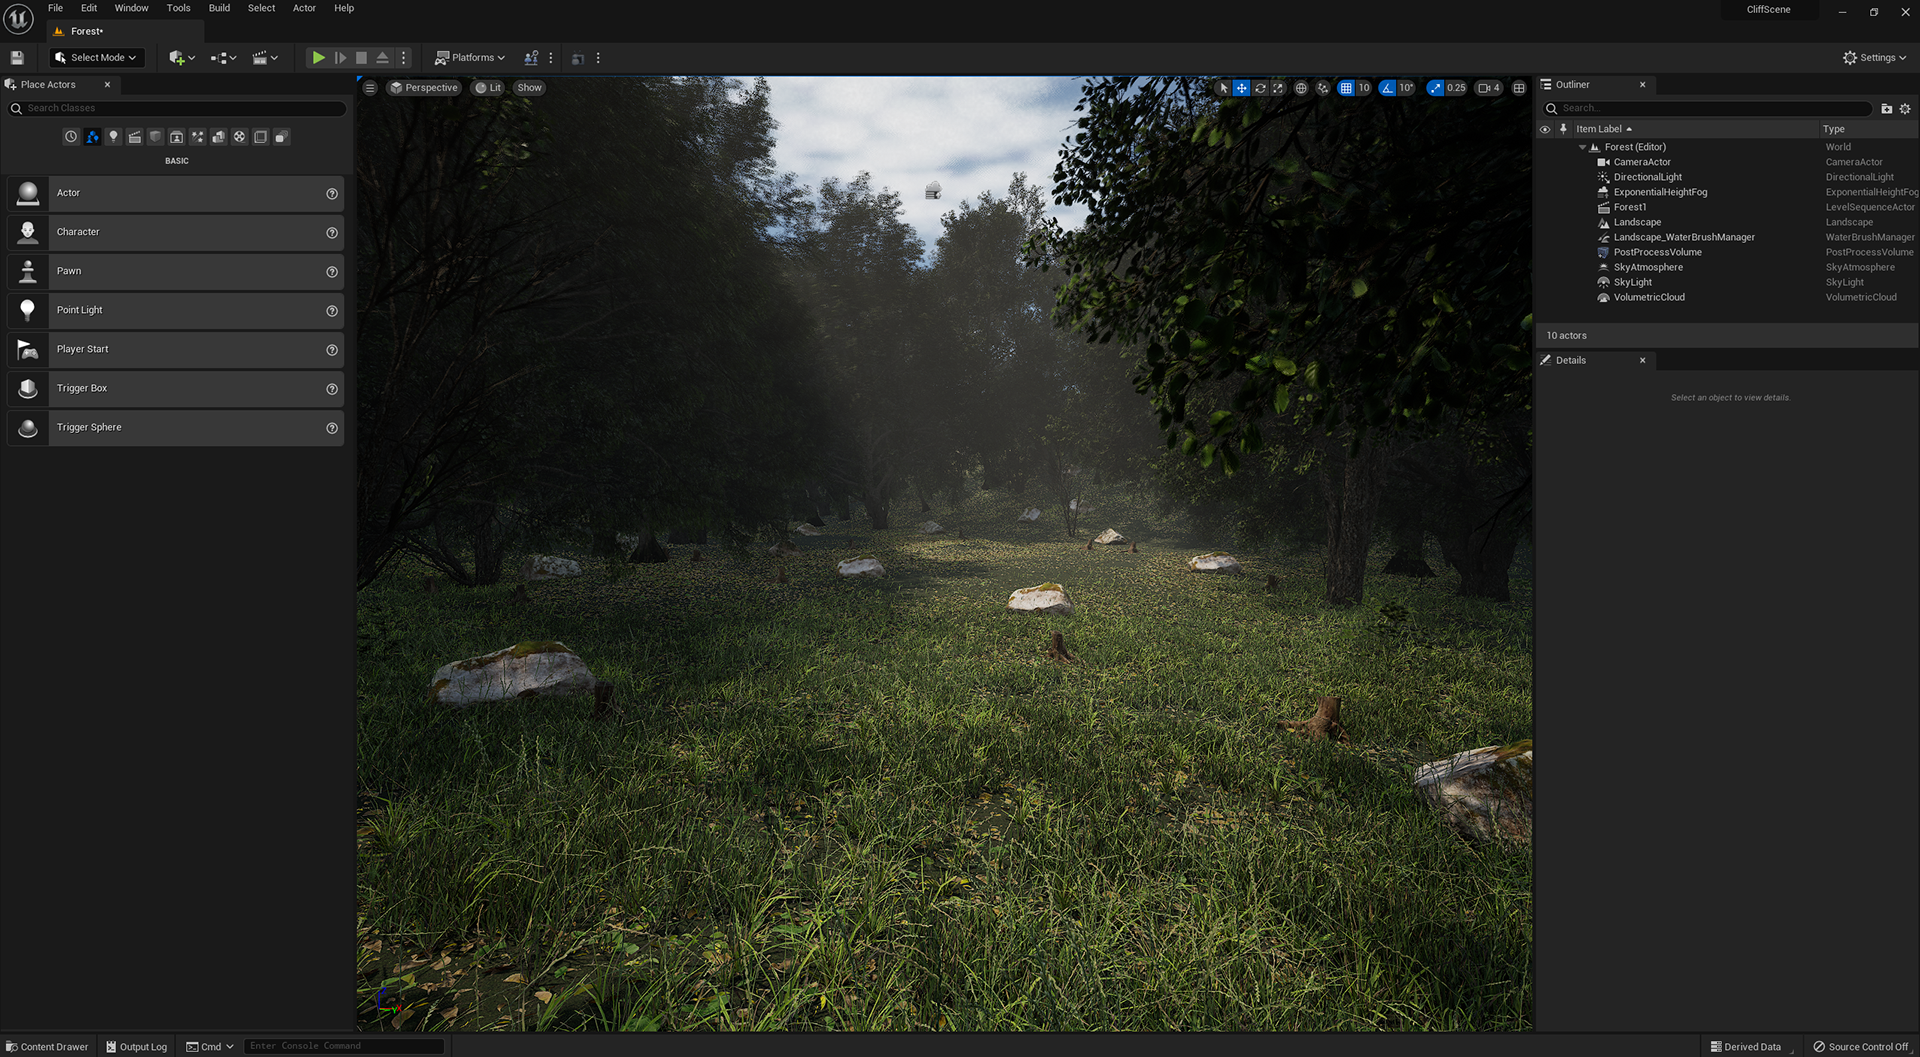
This is also a further step forward in understanding the lighting system as its further focused towards realistic lighting techniques. Managing a variable known as exponential height fog which has the ability to create nice light shafts and volumetric fog effects. This has the ability to further add layers to a scene and occlude distant objects to get believable hazing.
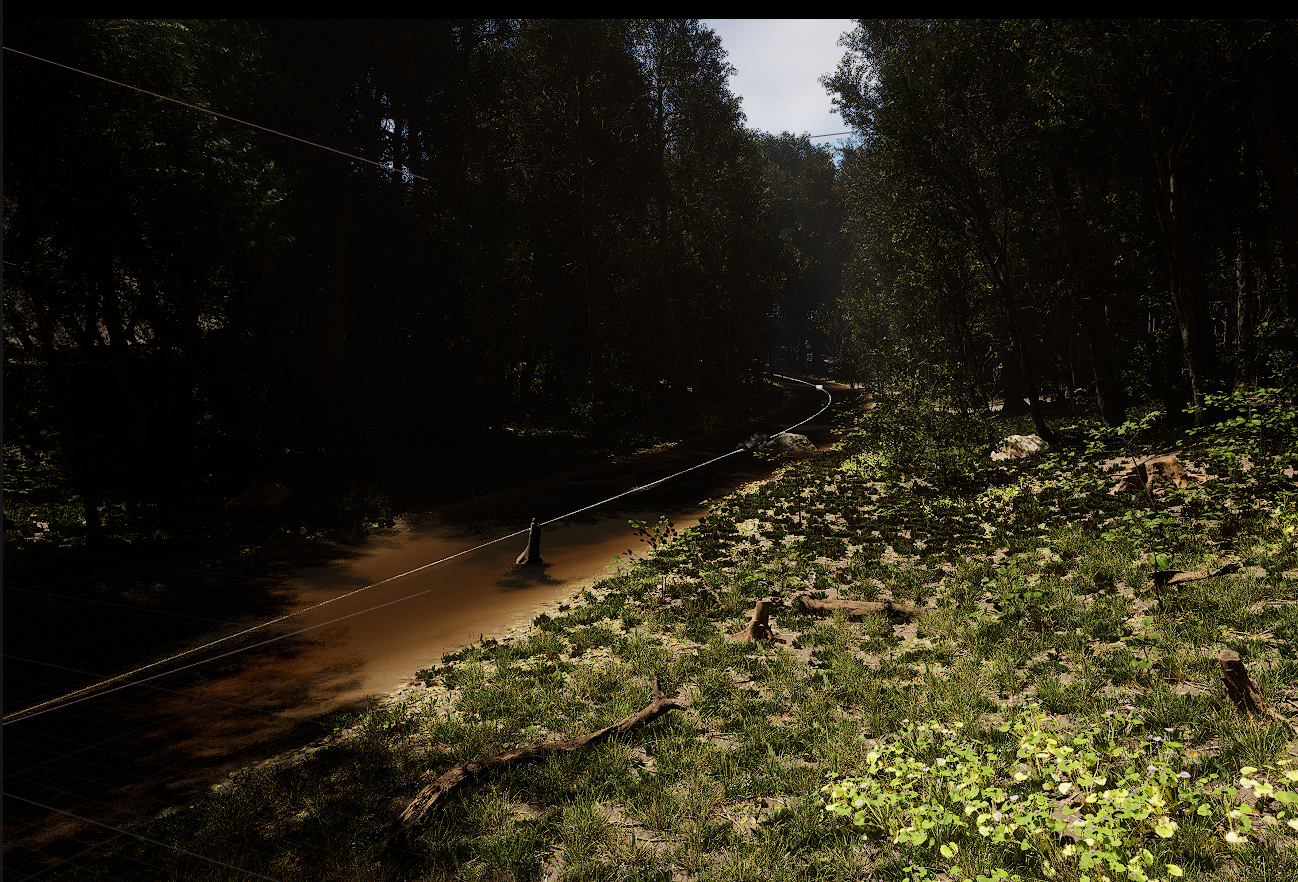
Now that I had a greater understanding of what I was working with, I started creating my first proper environment, starting with the Forest scene. The early prototypes still had bright blue water with edge errors on the banks, and very strong light shafts present on the left-hand side of the test image. It also featured very dense trees only allowing a small amount of light into the one bank of the scene I planned to run the animation on. I sent the image to a few friends and some family members for feedback and the overall consensus was that while good, the overall image was hard to read, with the river being mistaken for a road with how dark that side of the scene was, with the light shafts being way too strong and distracting to the overall scene.
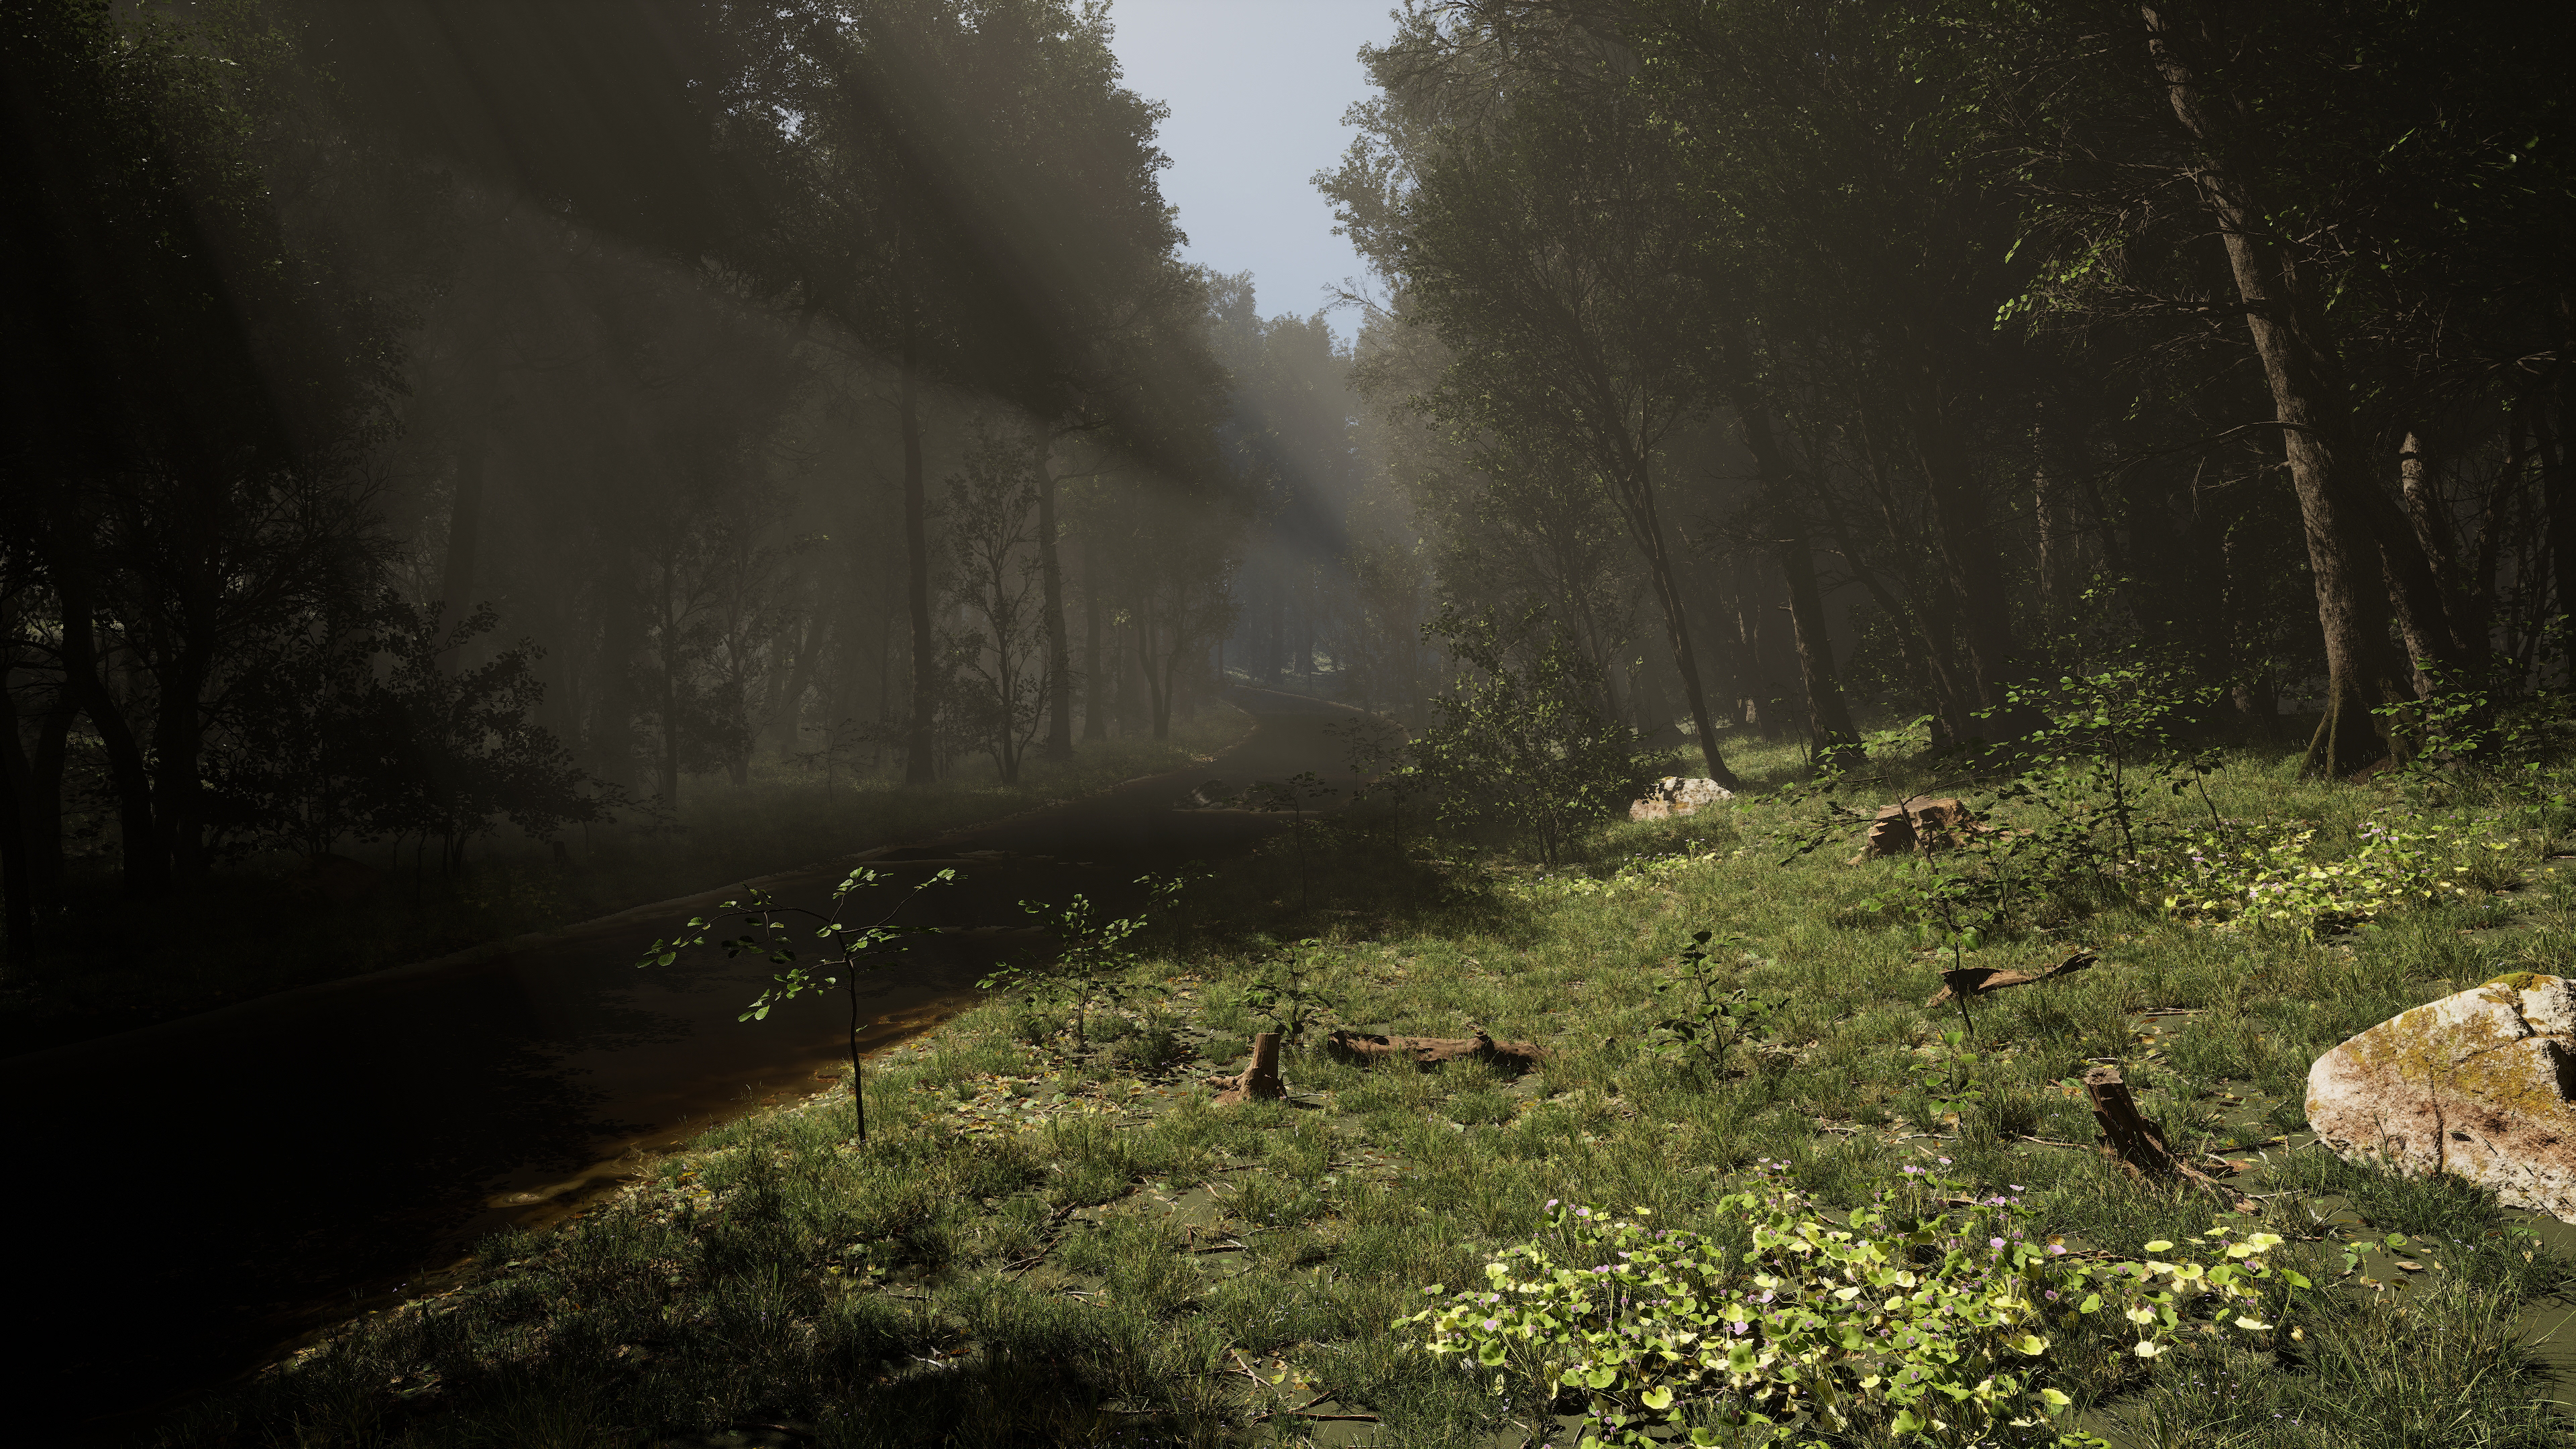
With that first major lot of feedback, I adjusted and implemented the changes while also implementing some more objects into the scene to better fill it out. The addition of some wild flowers, logs and rocks in the water added some variety to the scene, but in the long run some of these were removed to help simplify the readability of the overall scenery.
At this stage we went back for a second attempt at the motion capture. We went for a lot higher accuracy with our recordings which saw a lot more time spent collecting data points and calibrating the cameras and software before attempting a recording. This saw a much higher accuracy and higher fidelity recording which was able to be utilised for some of the animation pieces in our worlds.
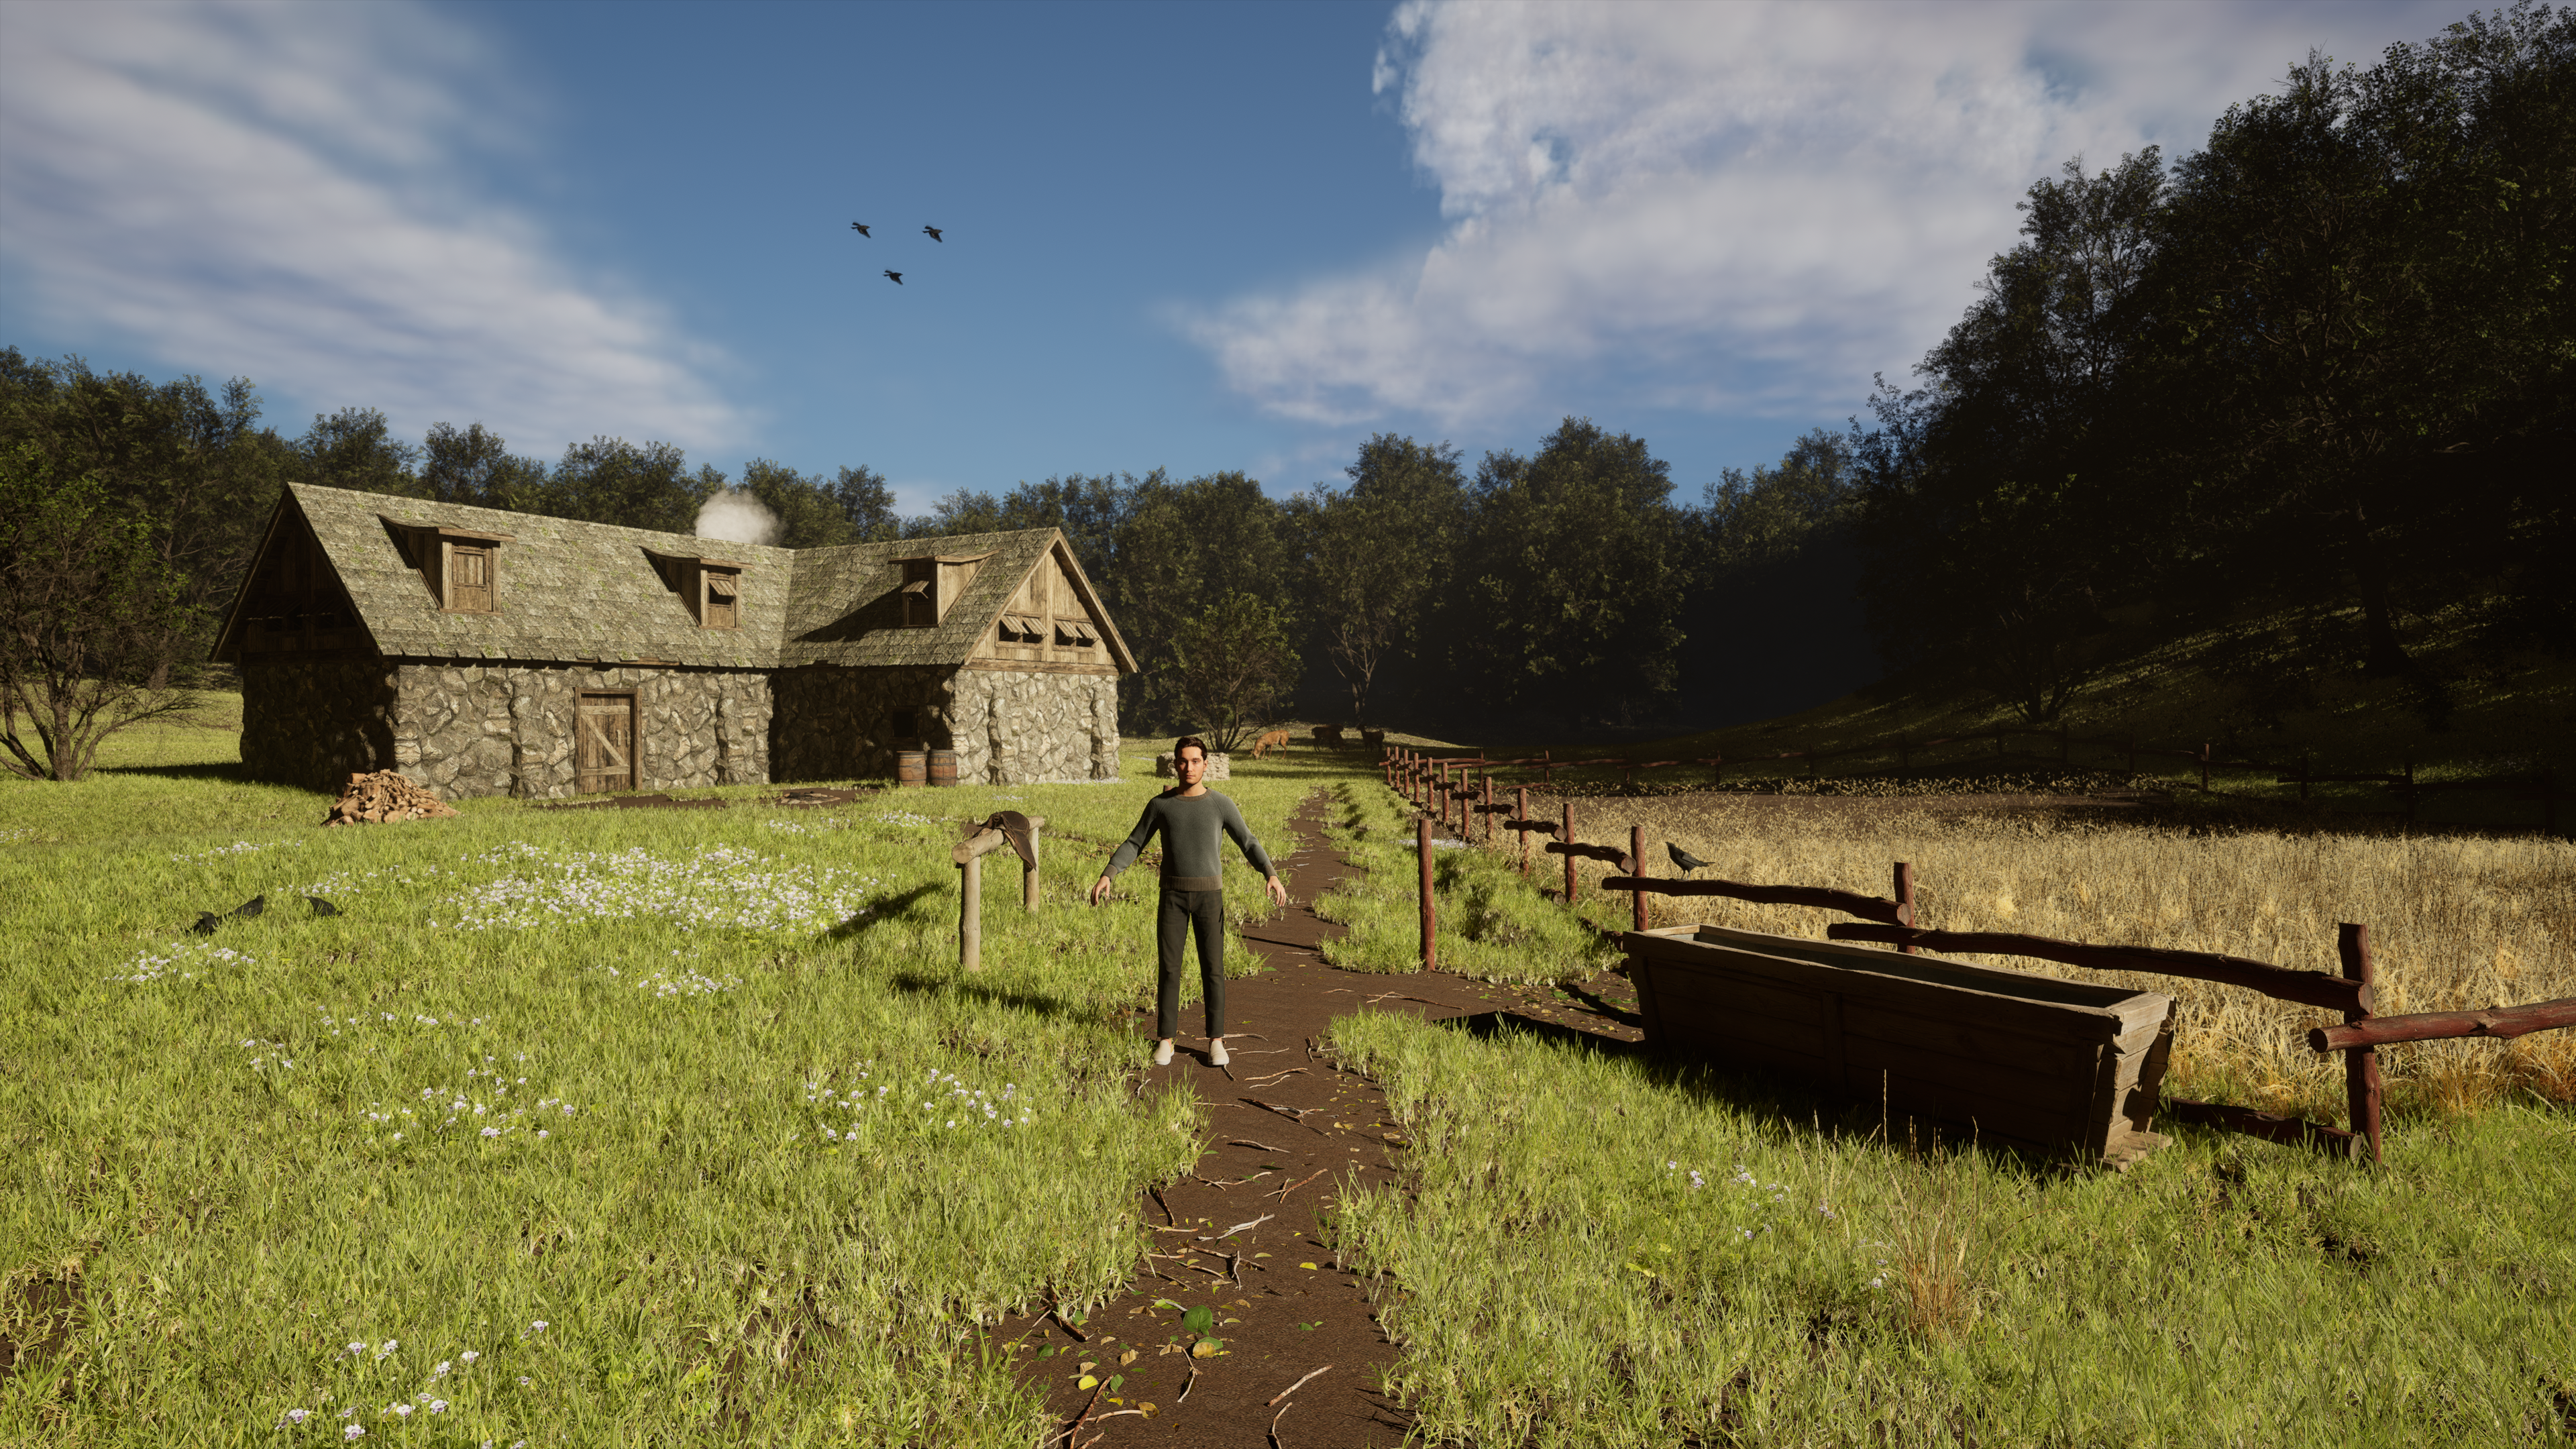
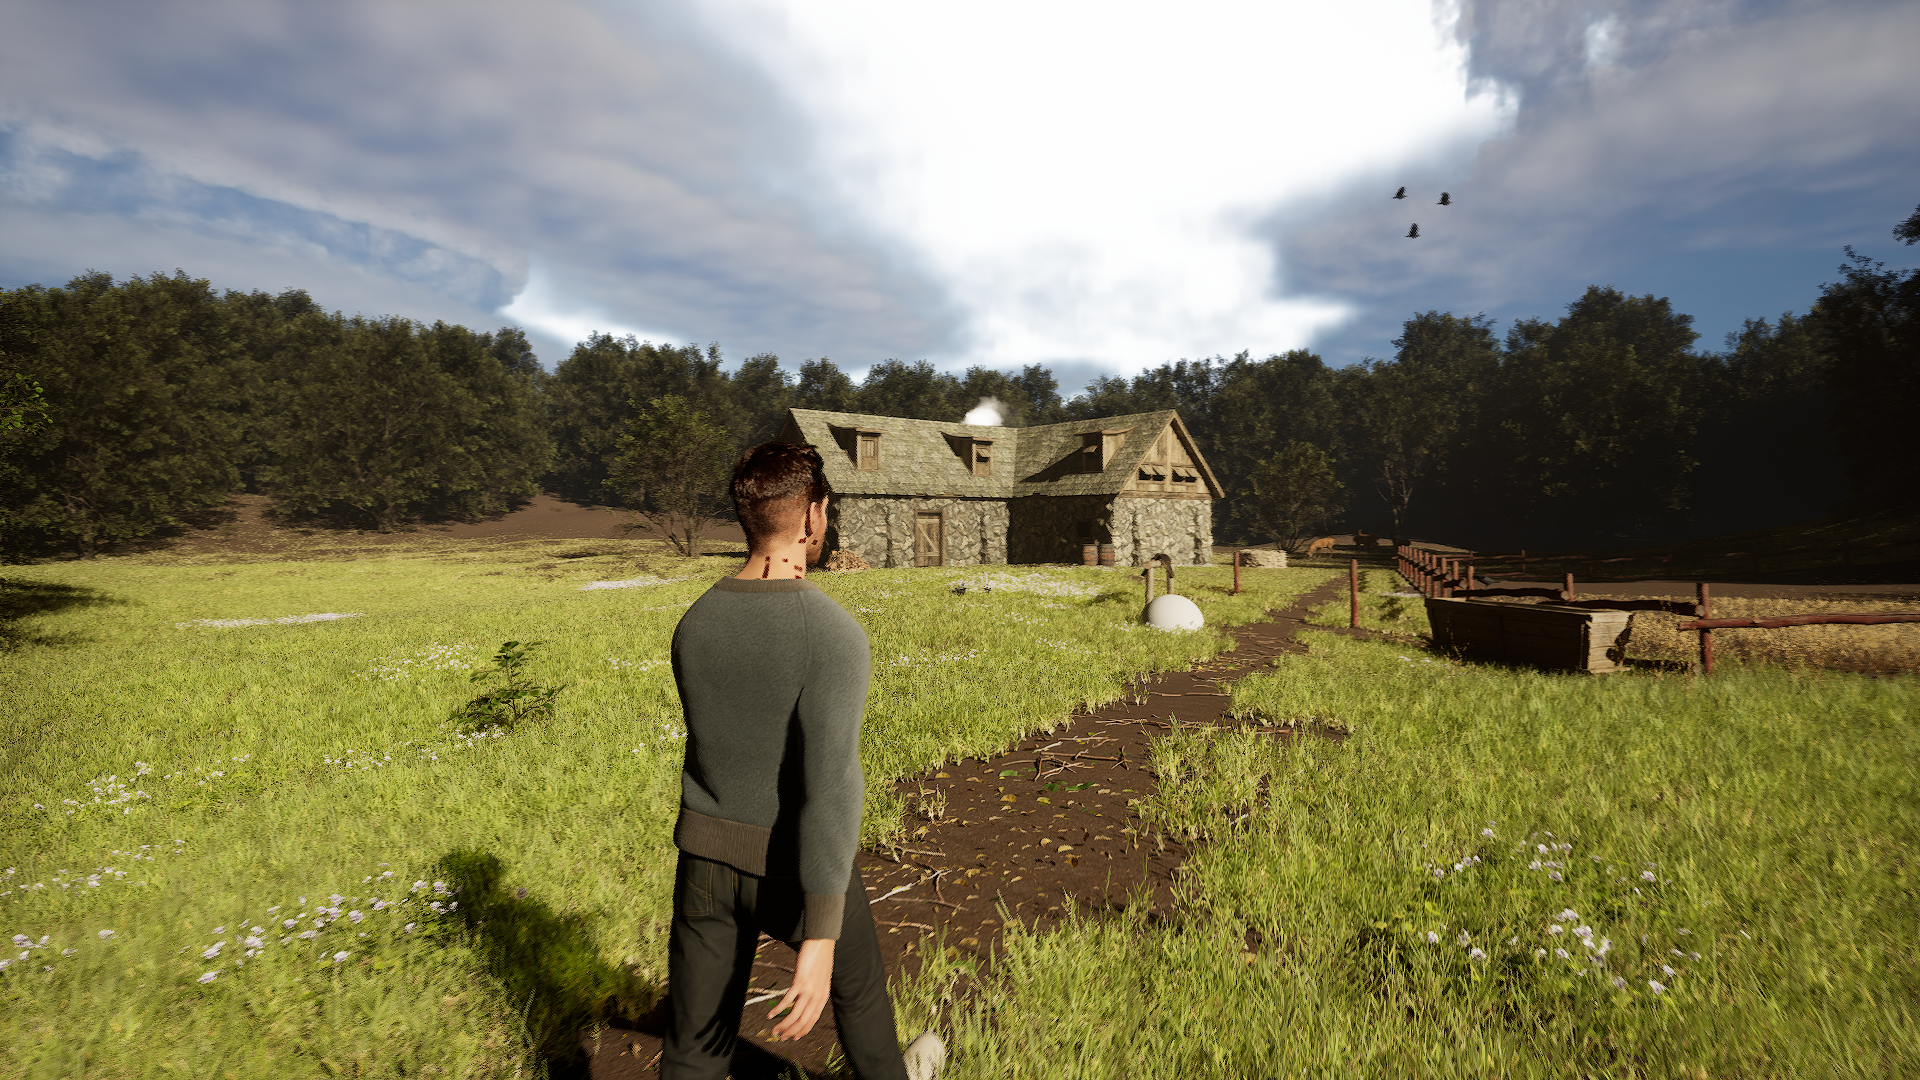
With the Forest scene almost locked down I began work on the Farm scene that would start my section of the project. I wanted to make it feel as though it was remotely near the forest so that if needed time frame wise, I could join the two together into one section, so I surrounded the open area the small farm is set in with a forest and went to work filling in the open field. Early drafts saw issues lighting different assets from different locations, making the scene feel very flat and bright, while there was also a lot of technical issues with getting grass and wheat in the distance to still render in test images so that there wasn't just dirt in the far away areas.
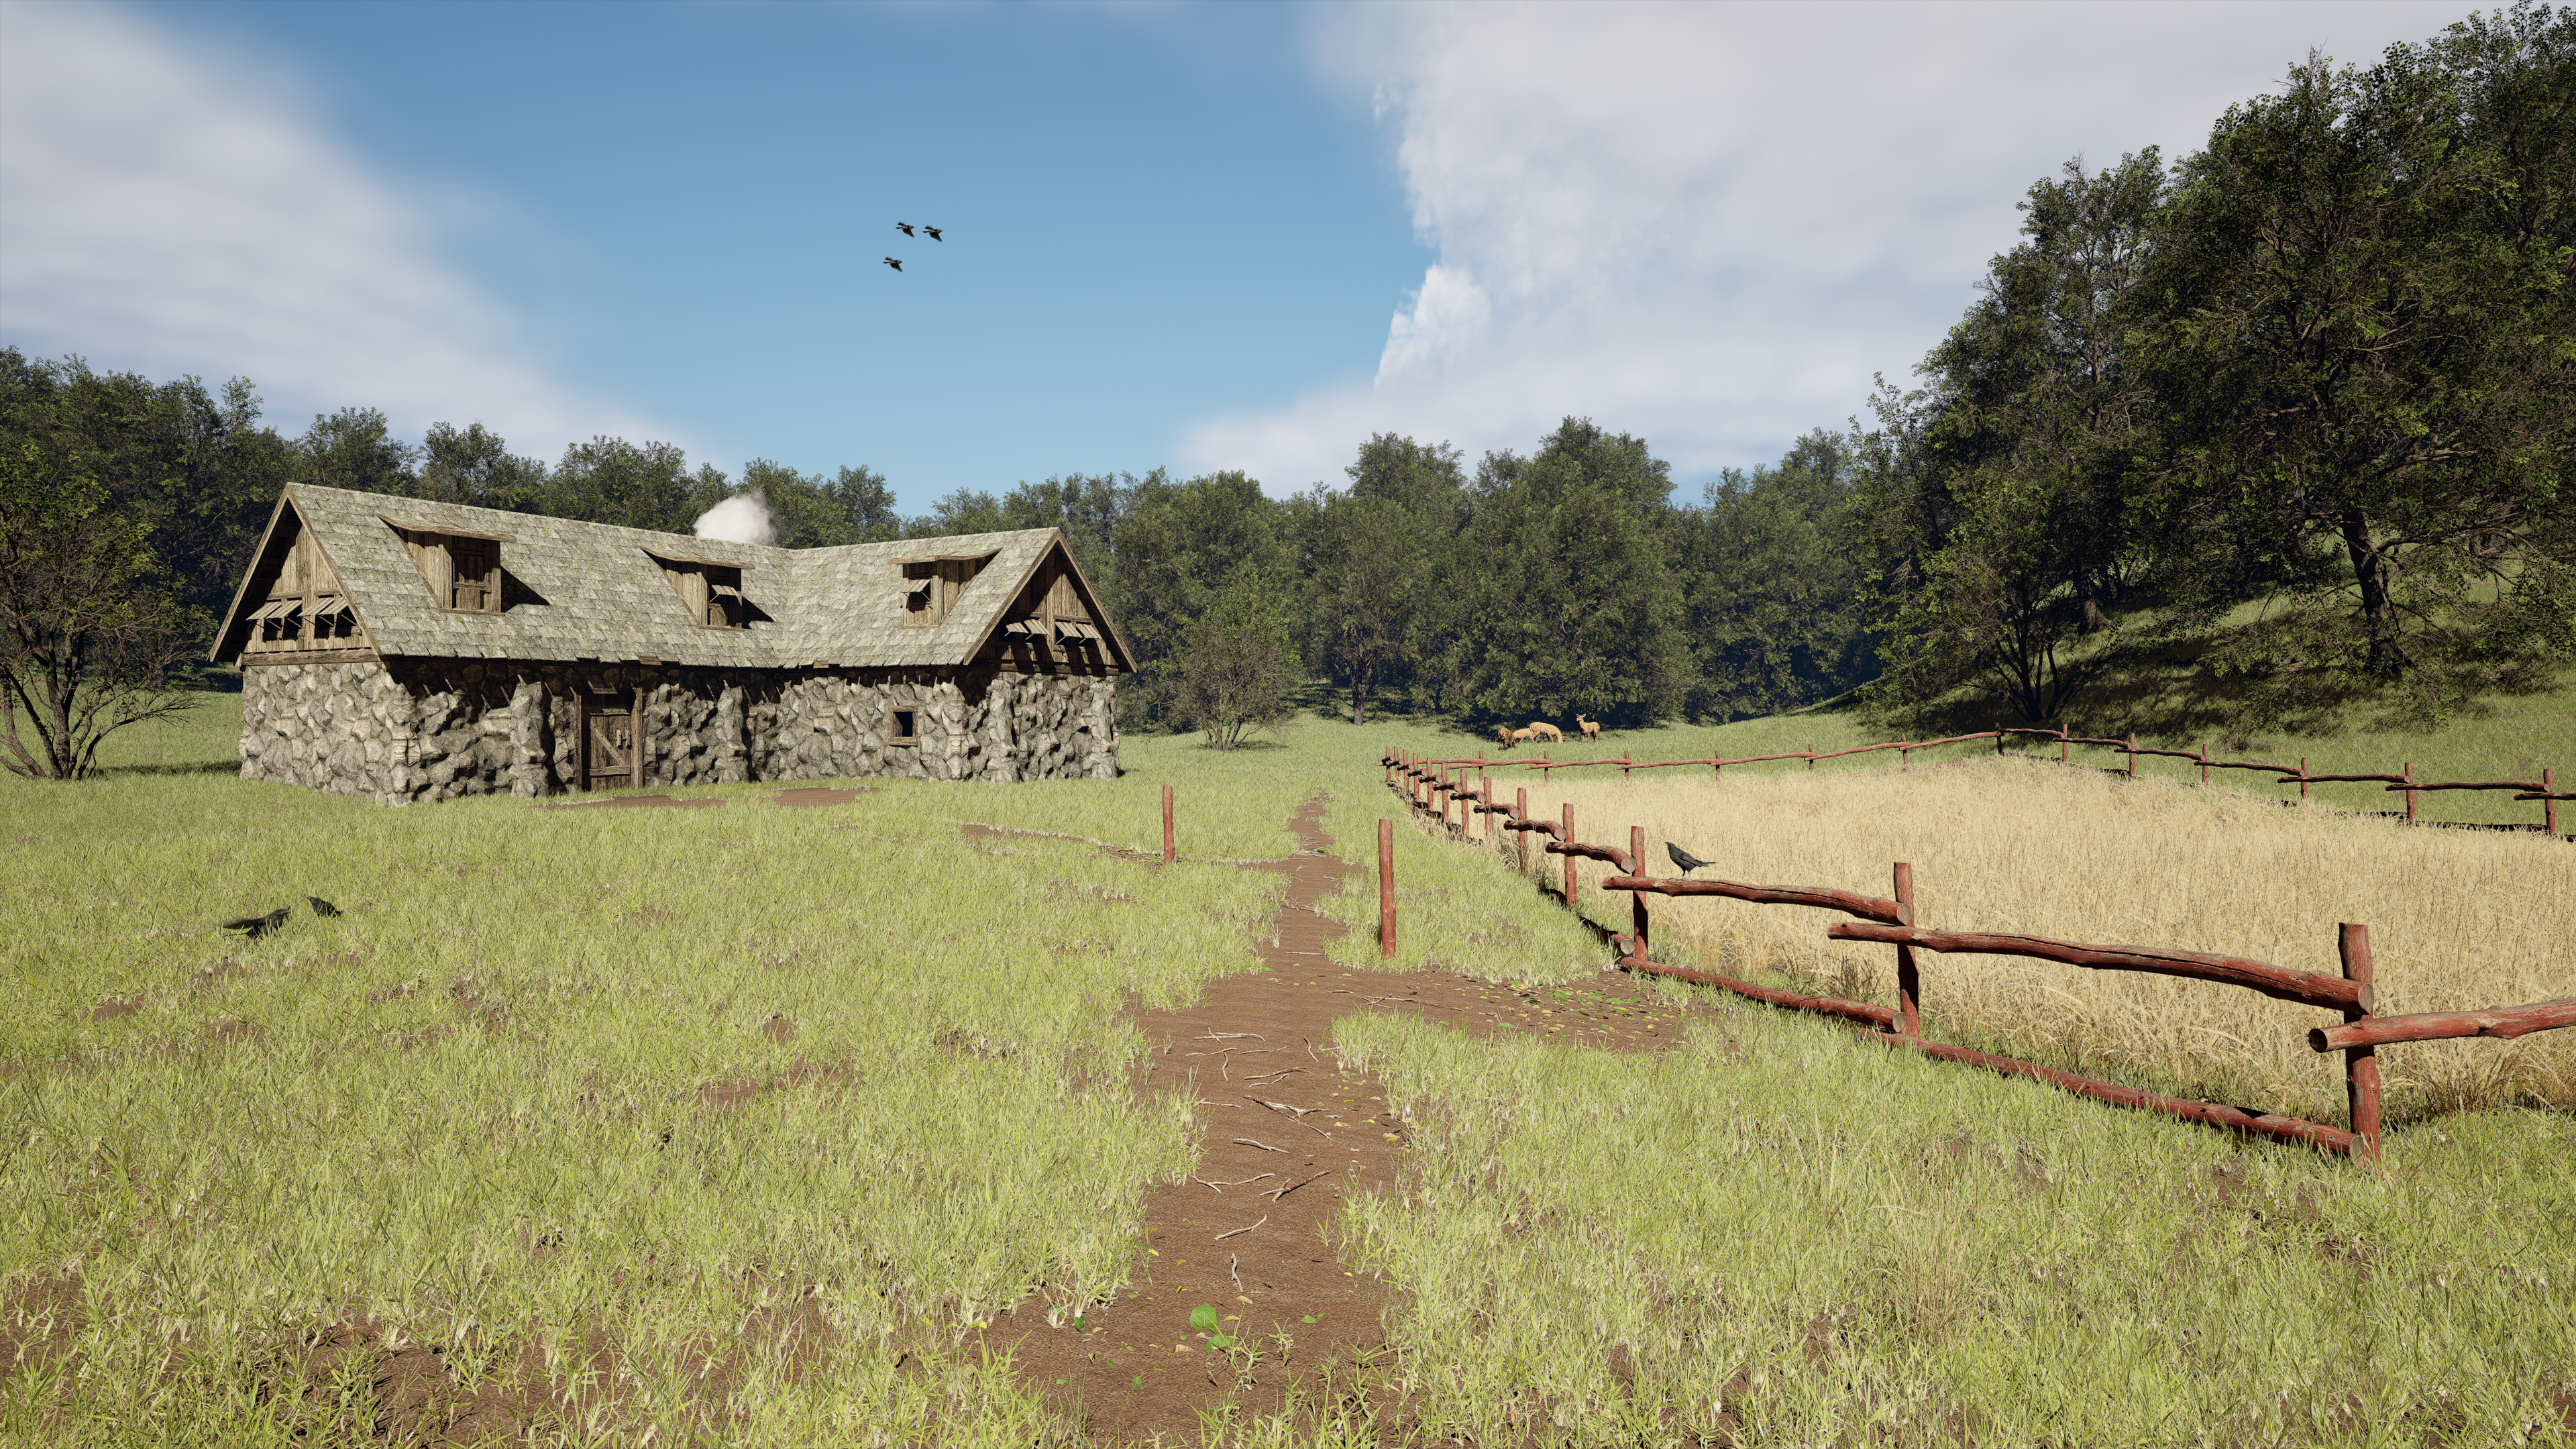

I was able to get the lighting and shadows sorted out and it added a whole lot of life into the scene and really added the depth that was needed, not much refinement happened with the scene, it really came together naturally and was mostly just a difficulty with the technical side of getting enough foliage to render per frame due to my systems performance, this saw increased render times but more desirable results.
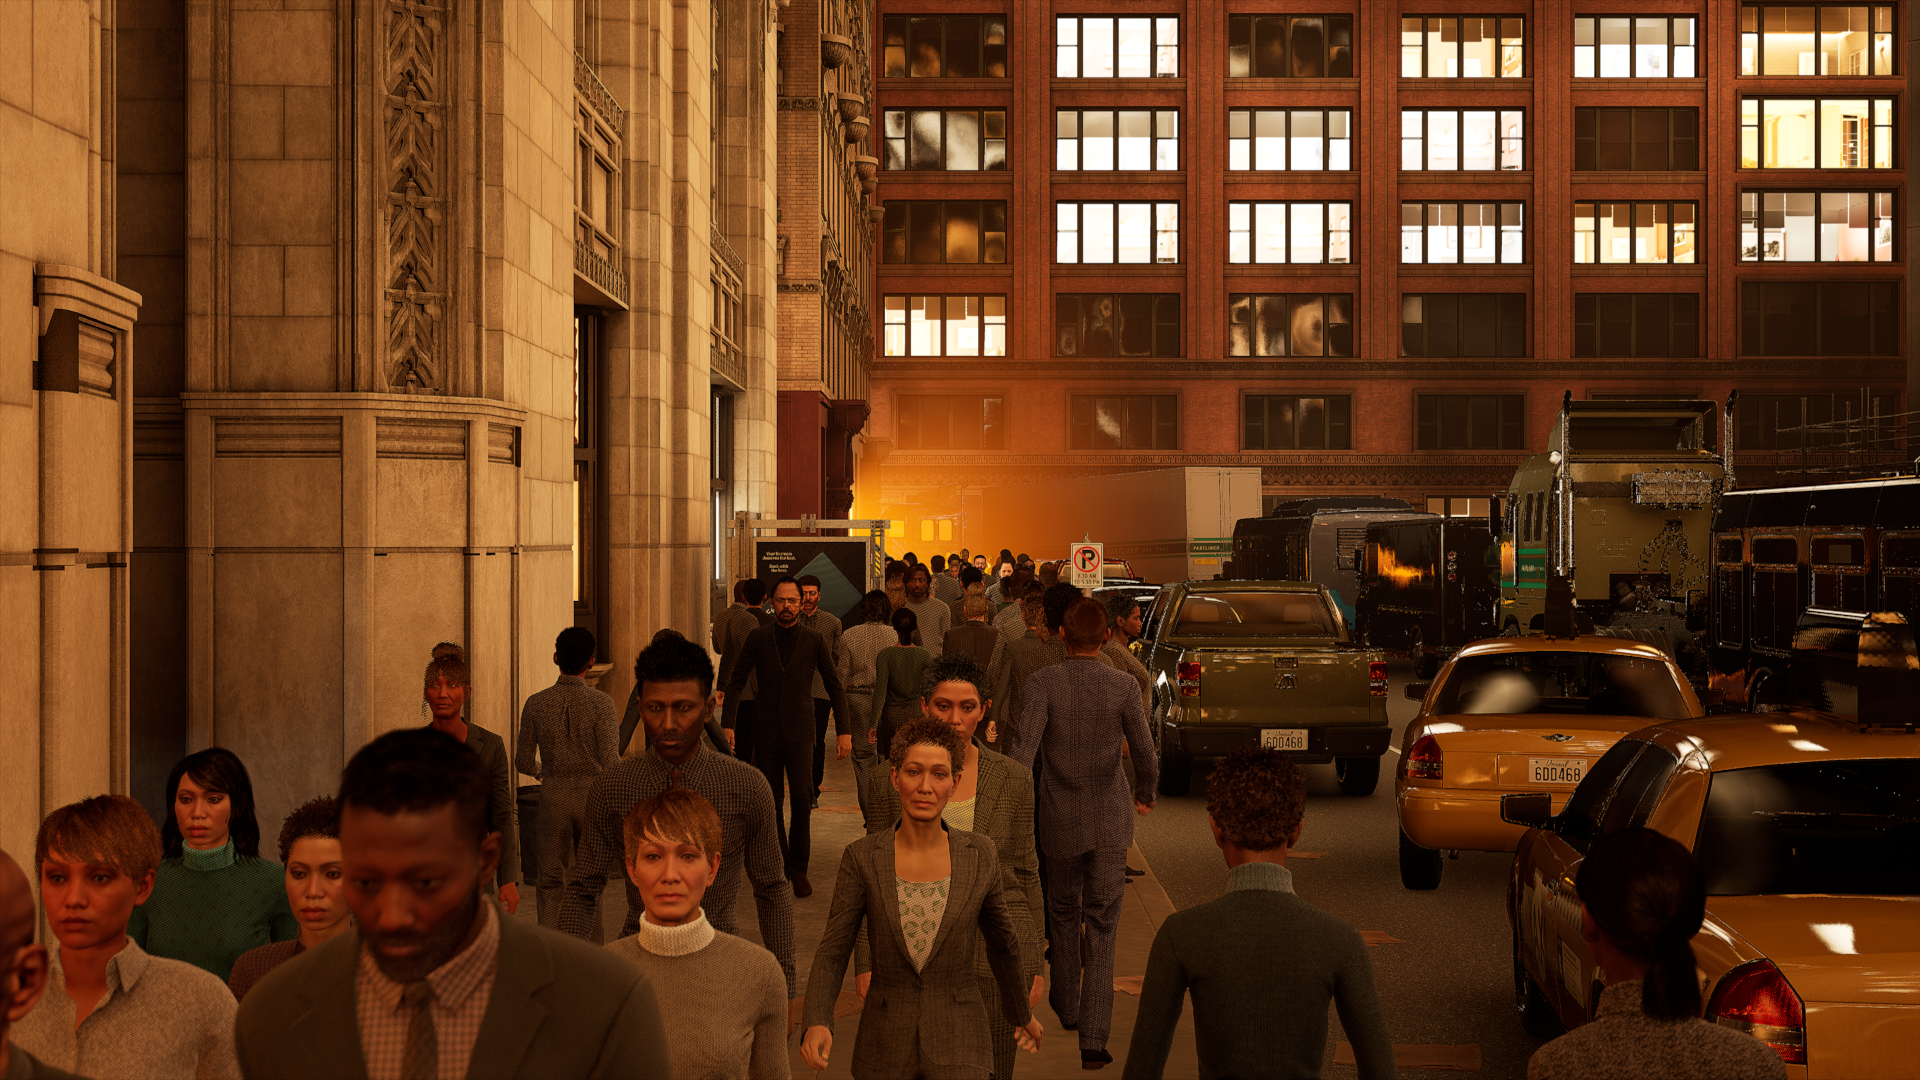
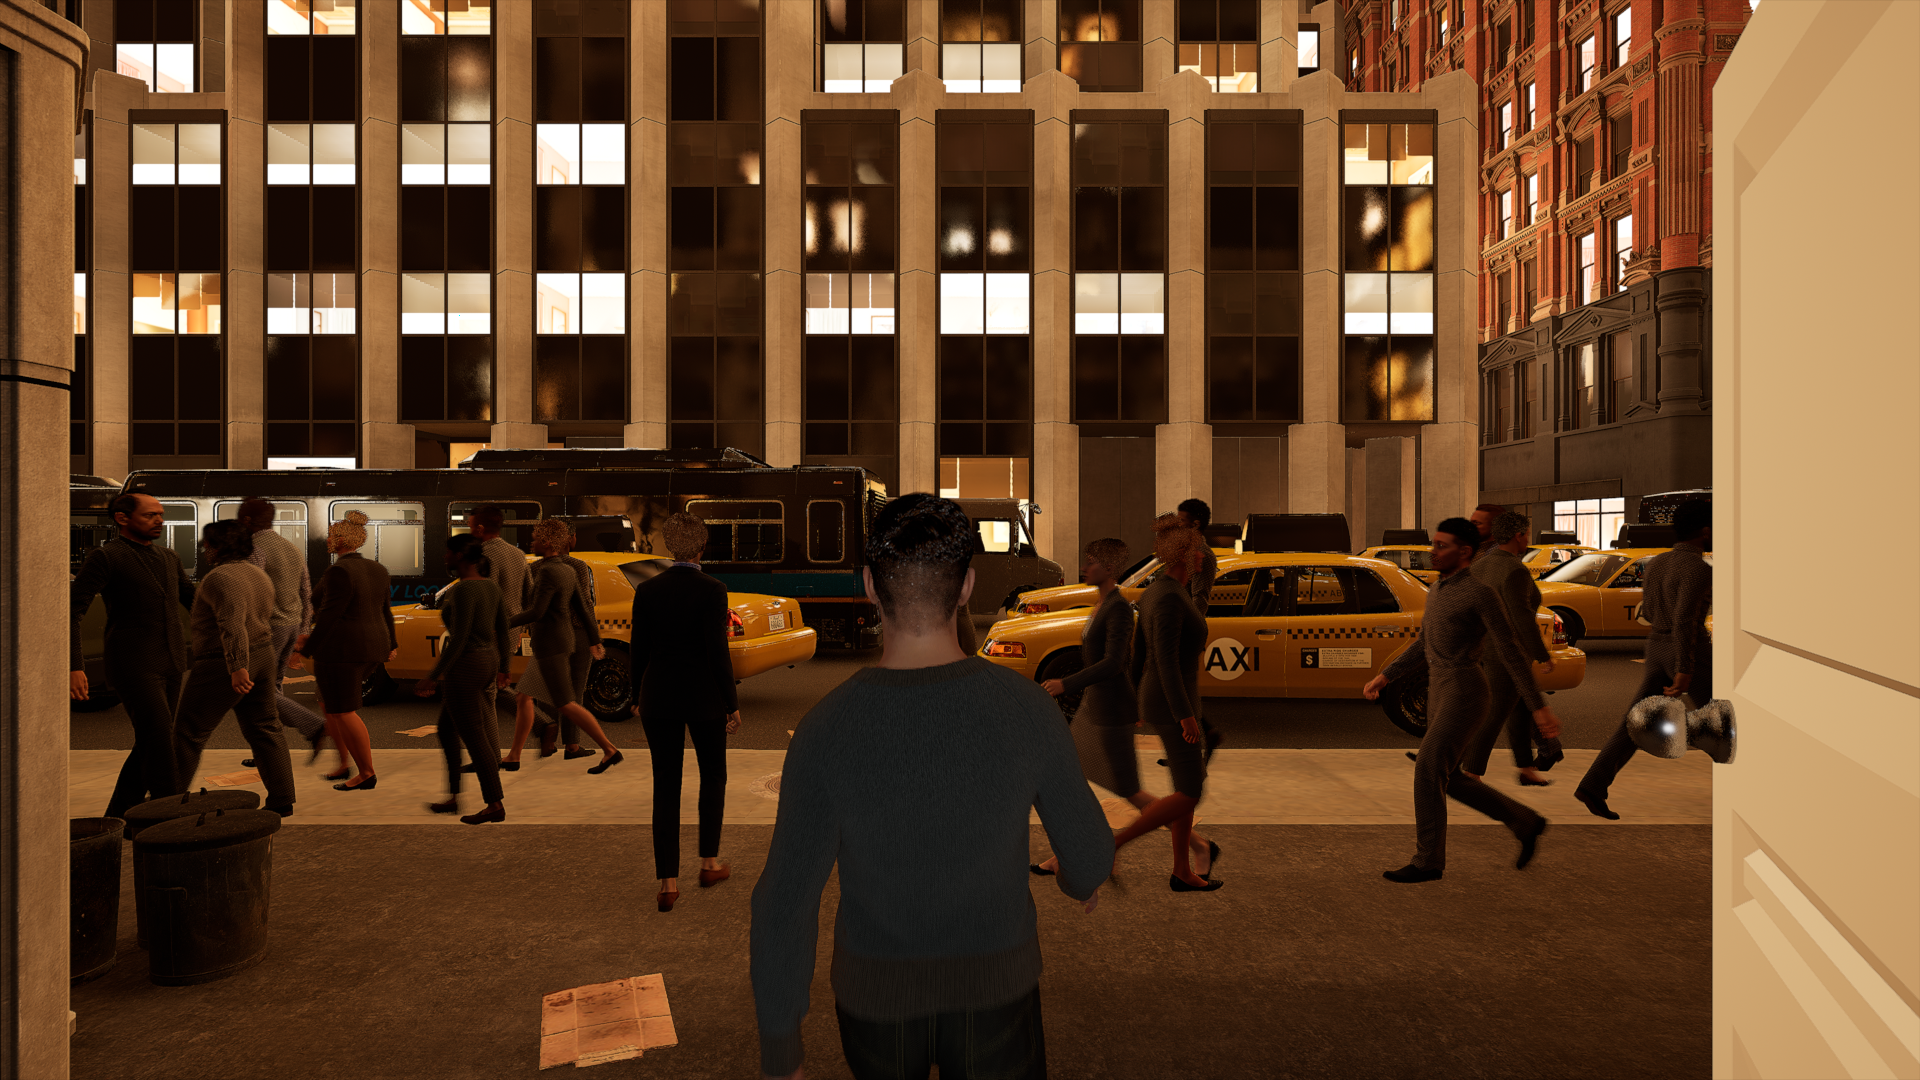
Finally, was the construction of the city scene. This saw me make heavy use of the newly released assets from the Epic Games ‘The Matrix Awakens’ technical demo which saw a recreation of the 2000’s film ‘The Matrix’ recreated within the new Unreal Engine 5. These free assets give high quality optimised buildings, cars and crowd characters that are highly customizable. These assets helped kickstart the idea for the scene to begin with and are 100% responsible for making it possible within the timeframe. This scene again came together quite quickly and organically, going off the knowledge I have from visiting many cities and from some quick photo referencing to justify some of the decisions.
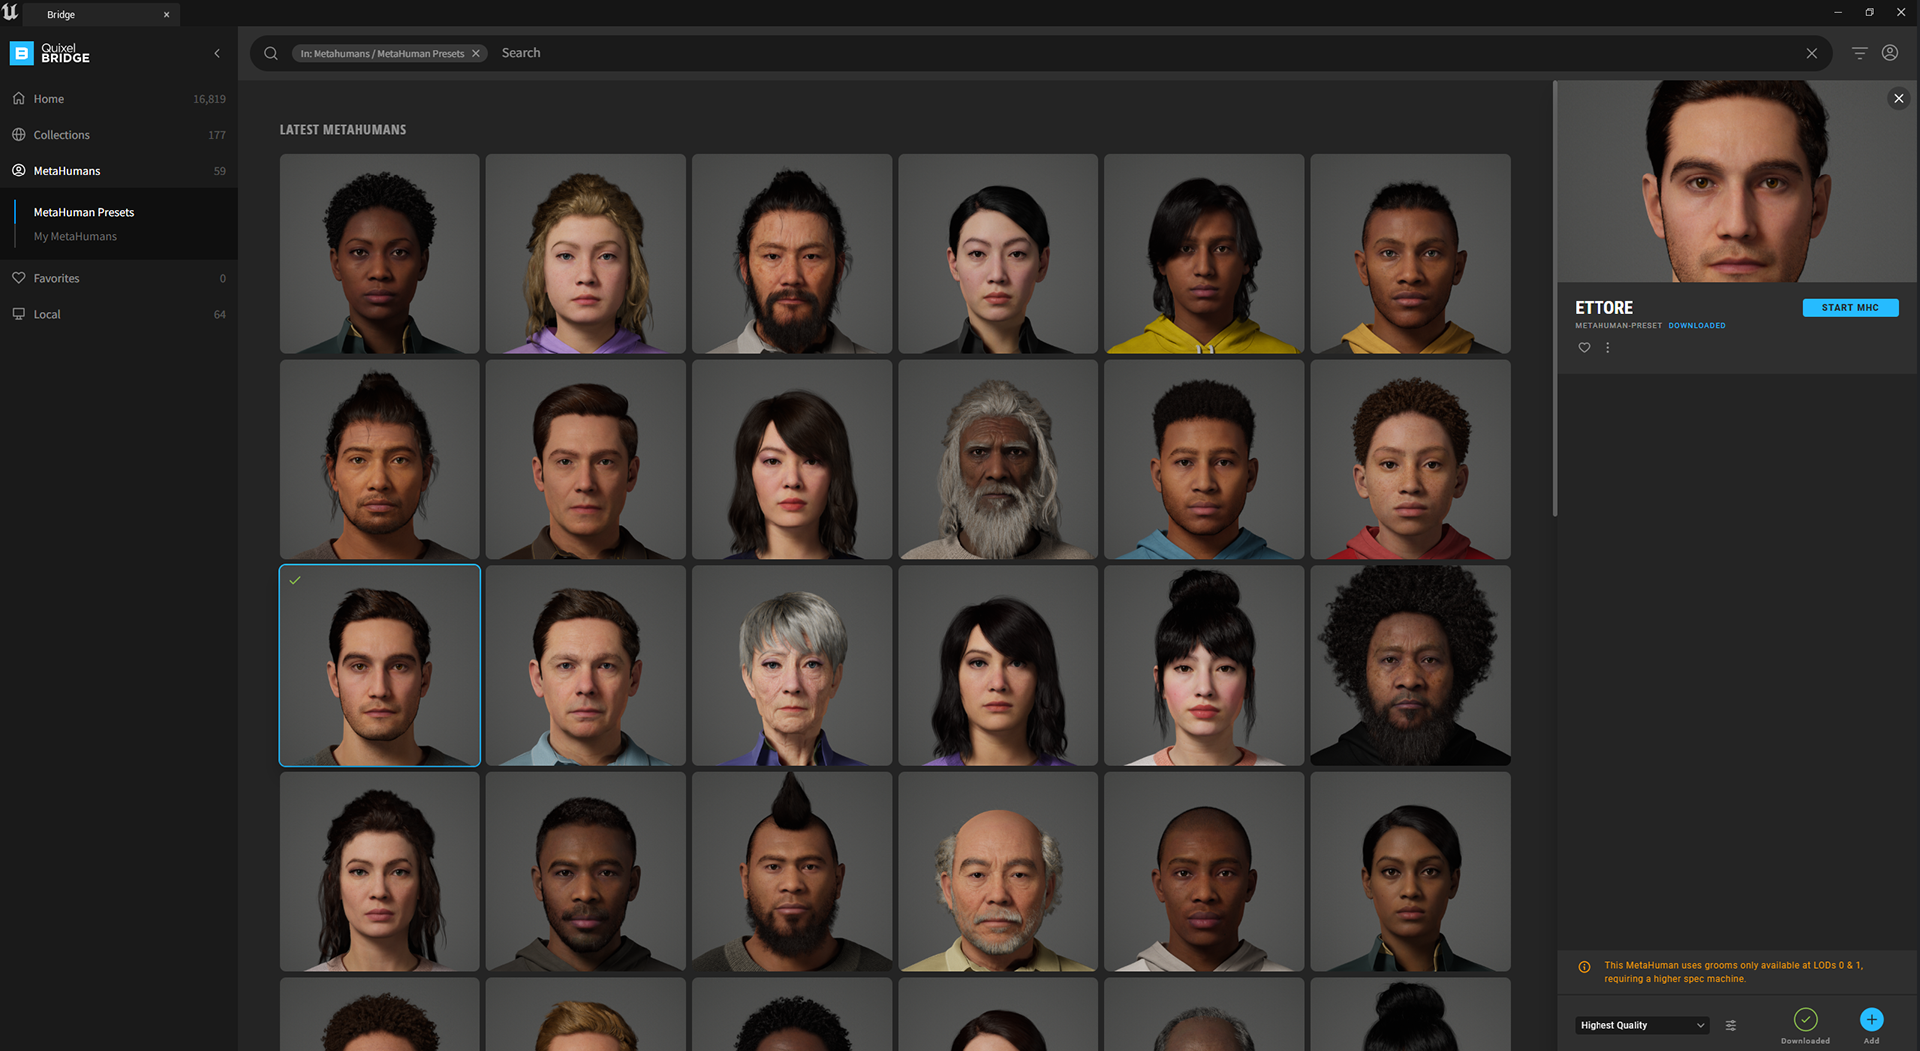
Following this it was time to introduce a character for my realistic art style. Epic Games also has a fantastic free program known as Metahuman, which see’s almost photorealistic, customizable human models produced online and downloadable for use within the Unreal Engine. This made creating a character to suit the envisioned looks of the character quite achievable at the fidelity that was required, while also having the working underlying structure to work with the motion capture, we recorded.
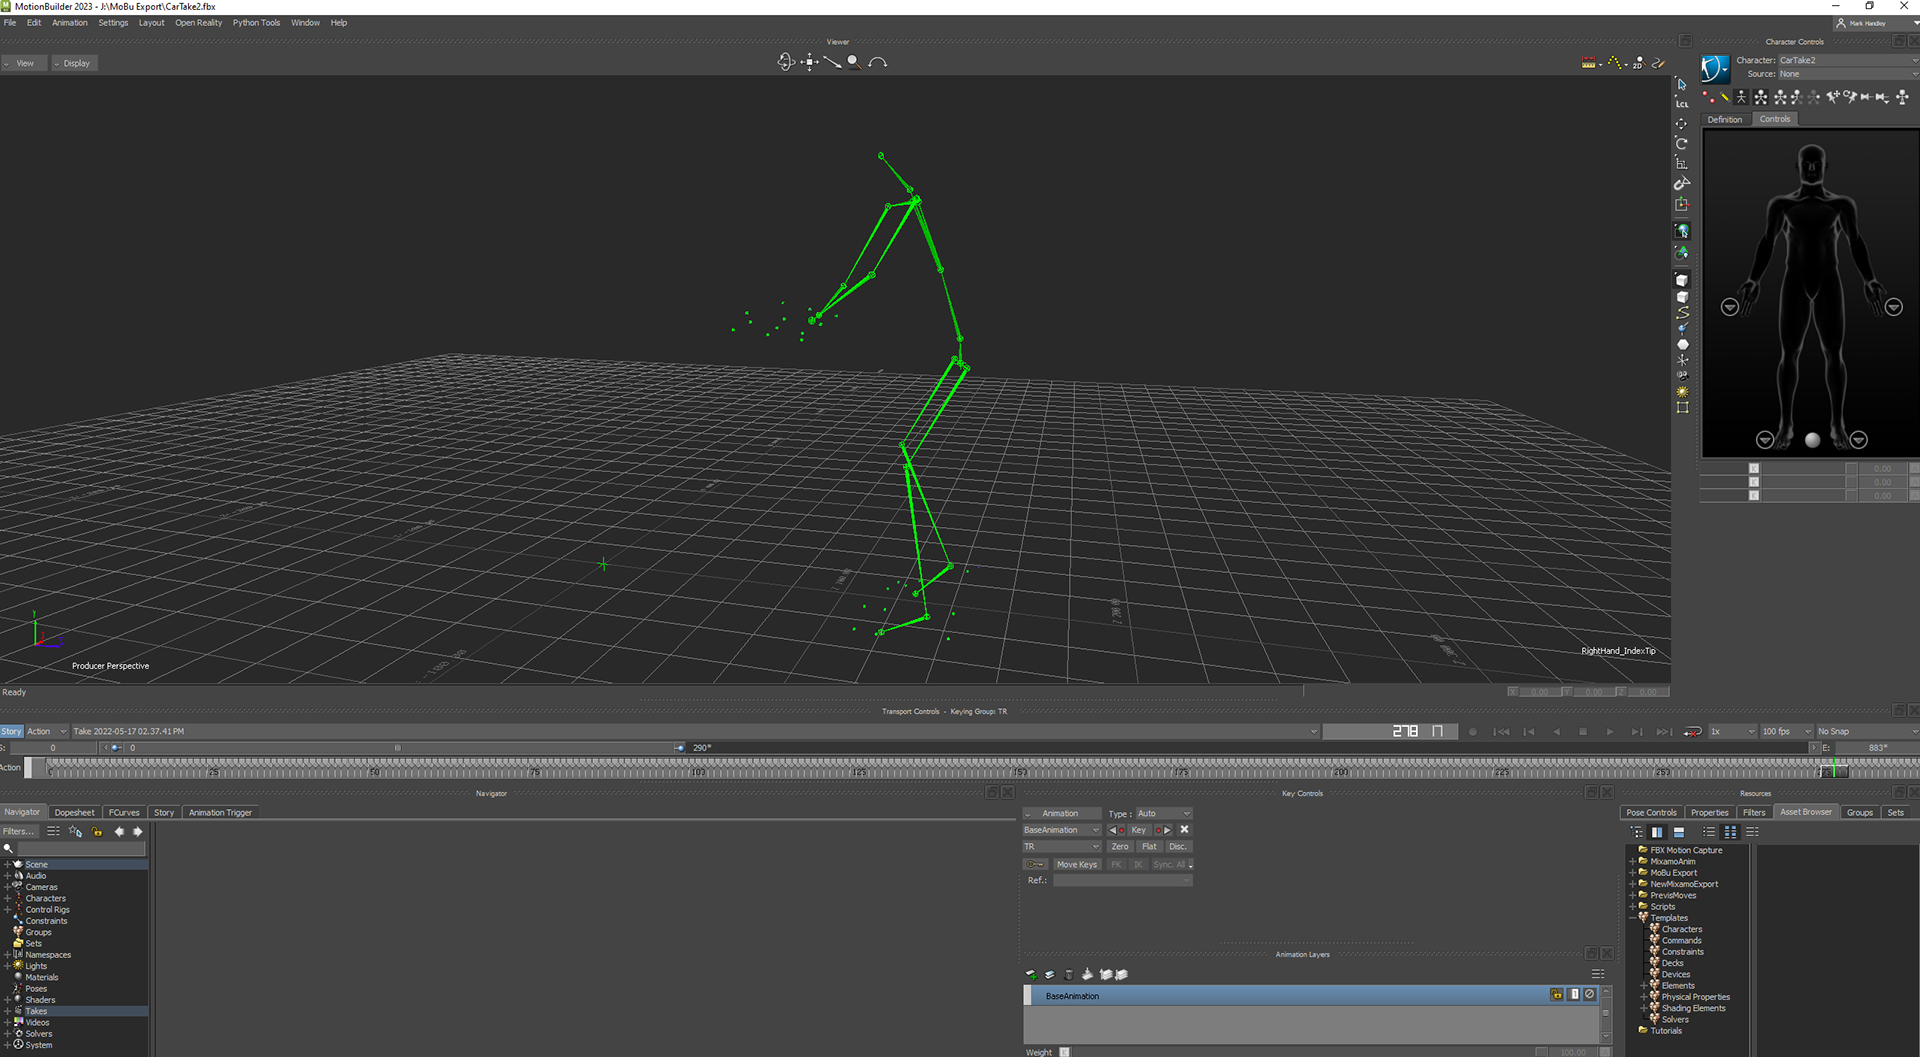
From here I had to figure out how to directly get the motion capture data onto the rig of the Metahuman character, this saw components exported from Unreal Engine and introduced into Motion Builder, where after specifying what bones are what to the program, the motion capture can be put onto a timeline and synced up to the rig of the character. This process is very tedious as each capture has a different start location and pose, so joining clips together requires matching poses and blending between poses, as well as trying to locate the rig in the same location so minimal sliding occurs.
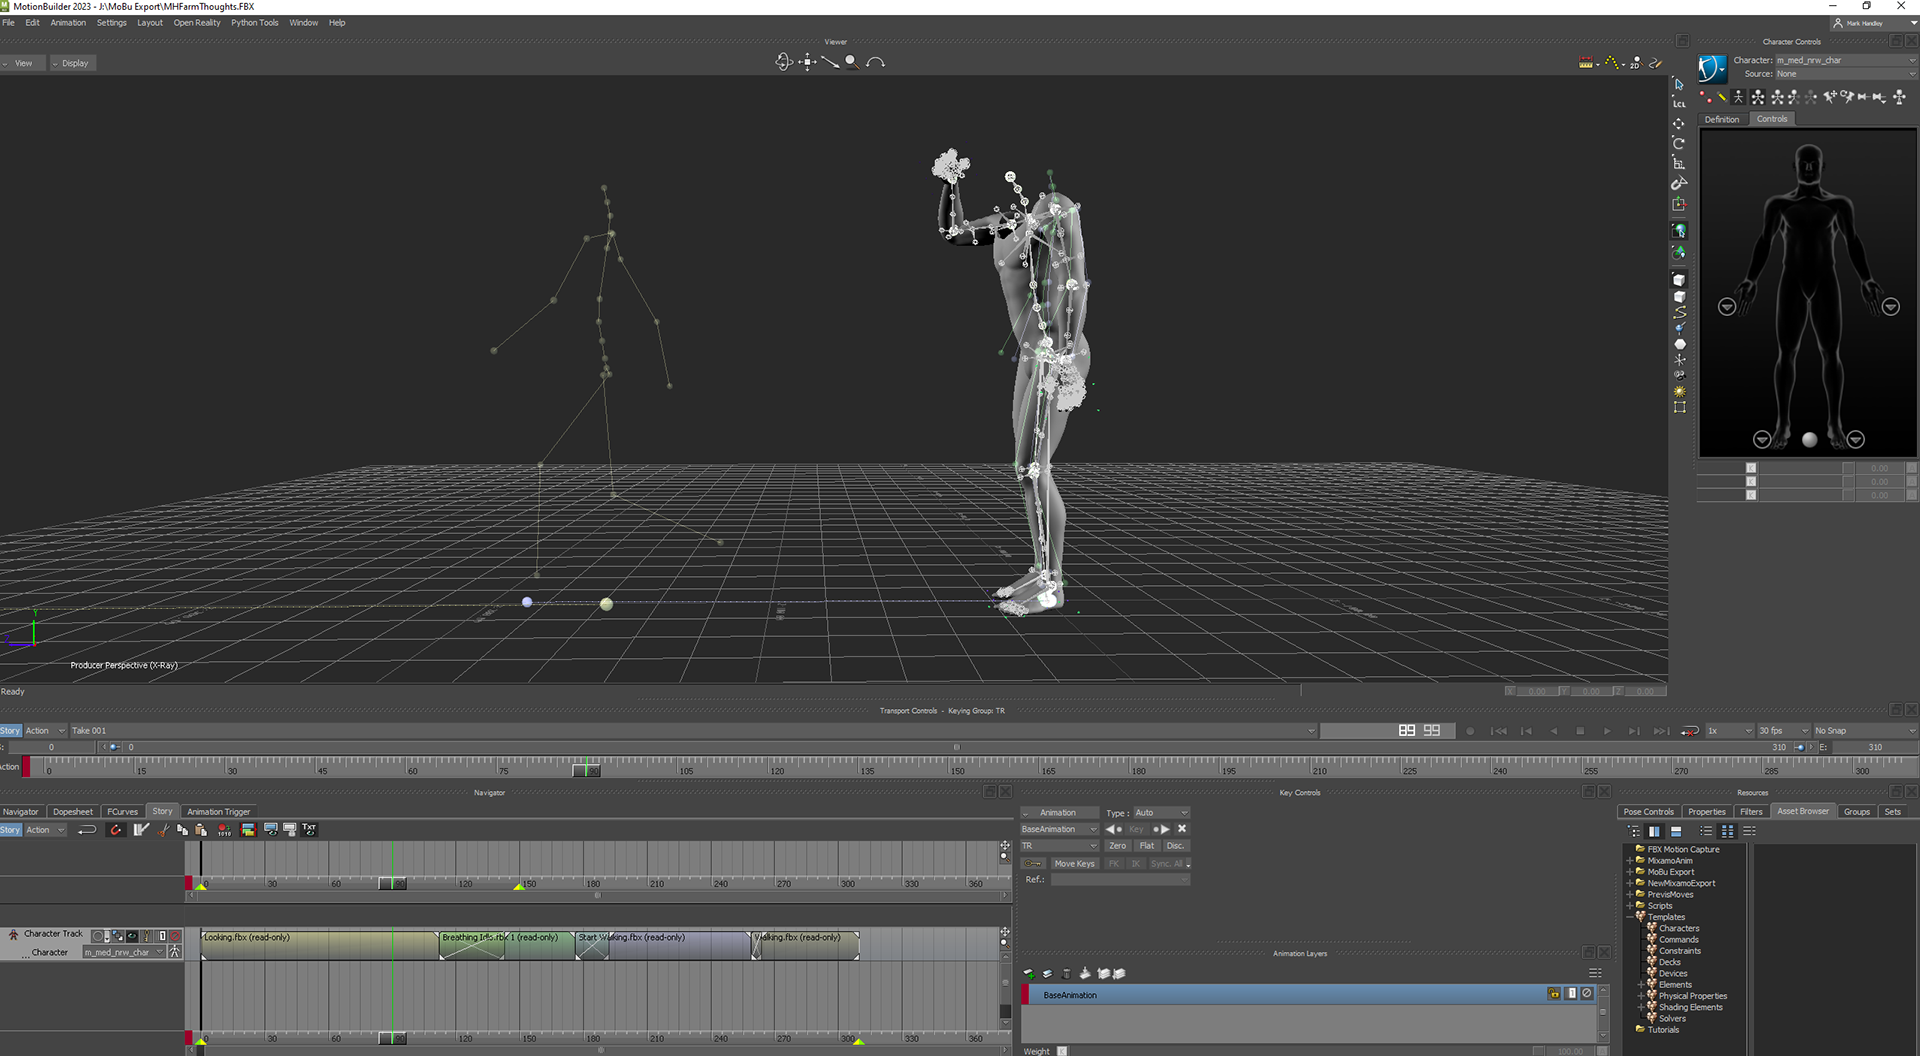
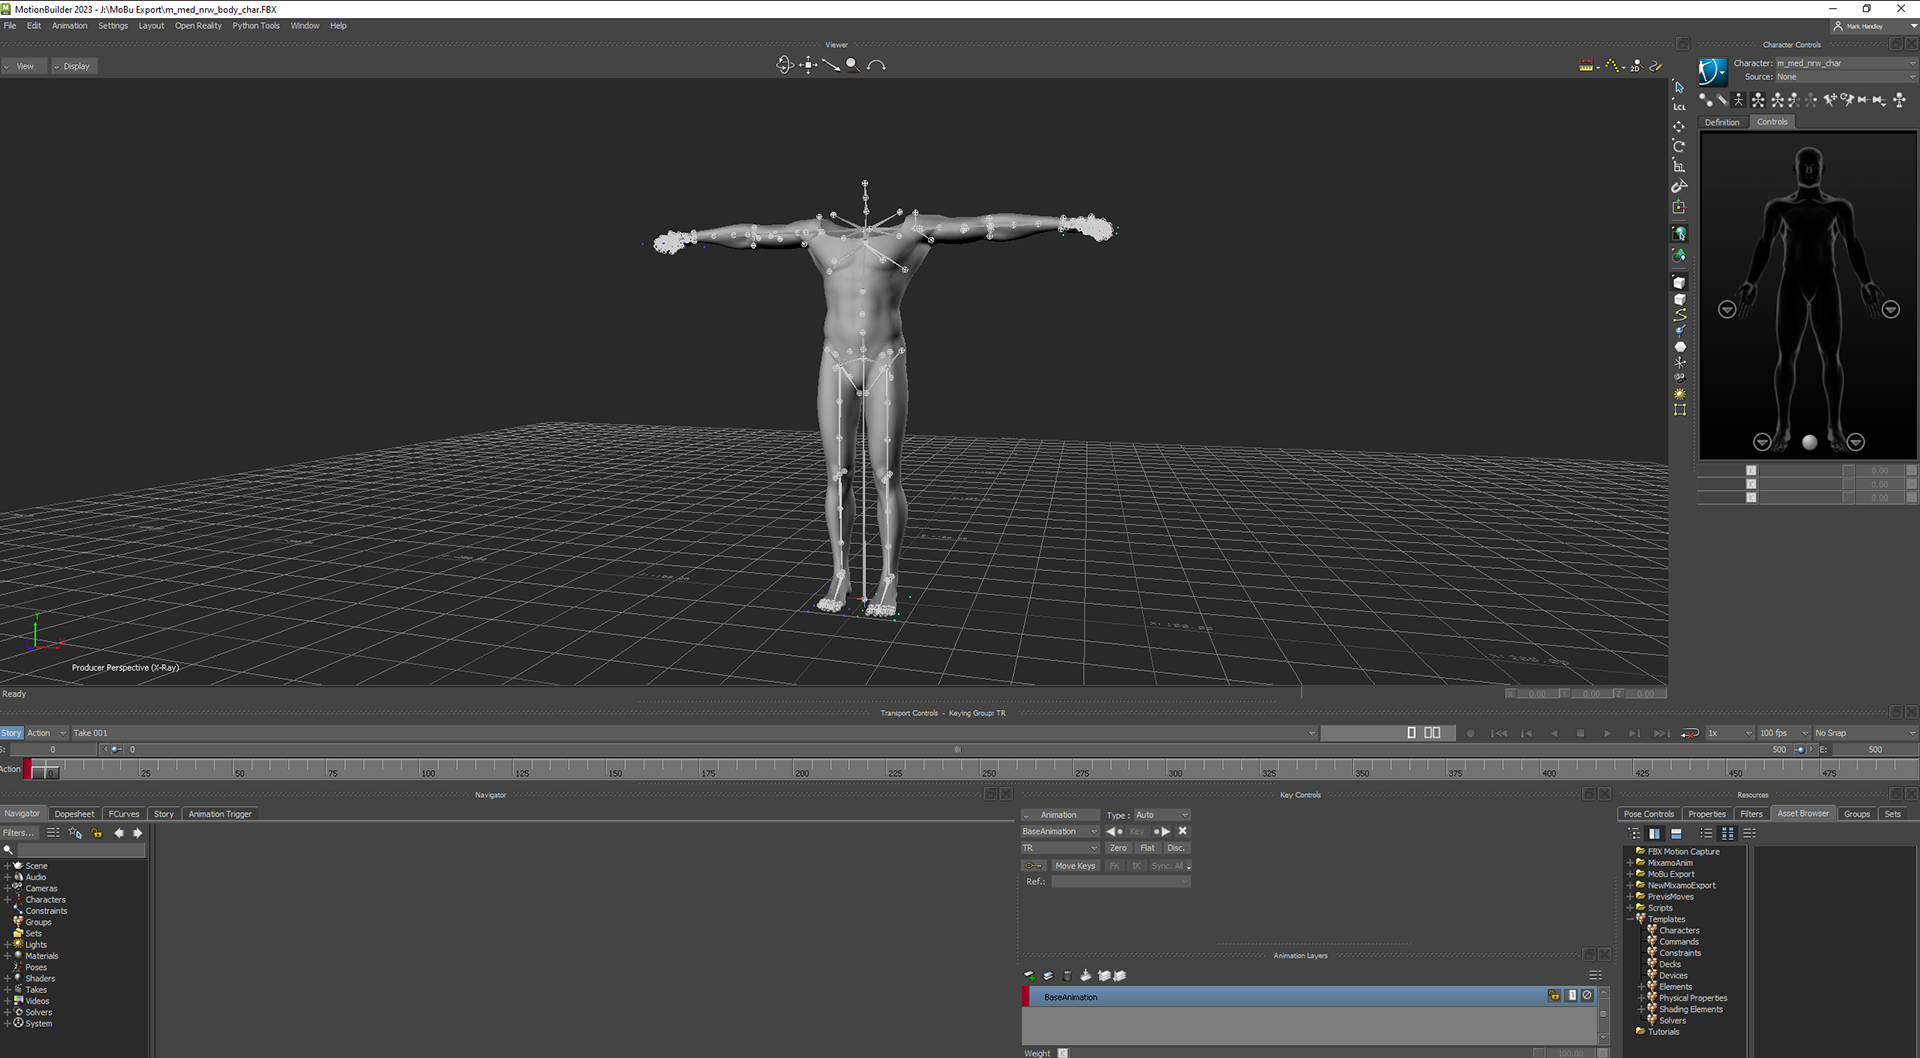
The main hurdle was characterising the rig, once that was handled and the motion capture data was cleaned up separately, they could be put onto each other quite simply, as mentioned above, longer sequences with longer clips became more and more difficult as merging different clips would quite often result in some foot sliding or even different stances which were notable in the shoulders. These were quite hard to rectify and some of these small issues are still present in the final product due to the time required to blend the stances together.
With the motion capture starting to come together, I was able to start incorporating it into the environments I had designed, early testing was promising, although there was the tedious task in the farm and forest scenes of making sure the feet of the character were actually on the ground due to the variations in topology. In the city scene this was no issue as I had designed it all to be flat and even.
As I began testing renders with animation in them, other small problems arose such as the one below. Some objects would lose their detail or disappear completely, this was due to the complexity of the scenes and the software having to budget my system resources to actually successfully render the images. This was luckily semi fixable by forcing some objects such as more distant ones to render in lower qualities while the very close up stuff had the budget to render in full quality.
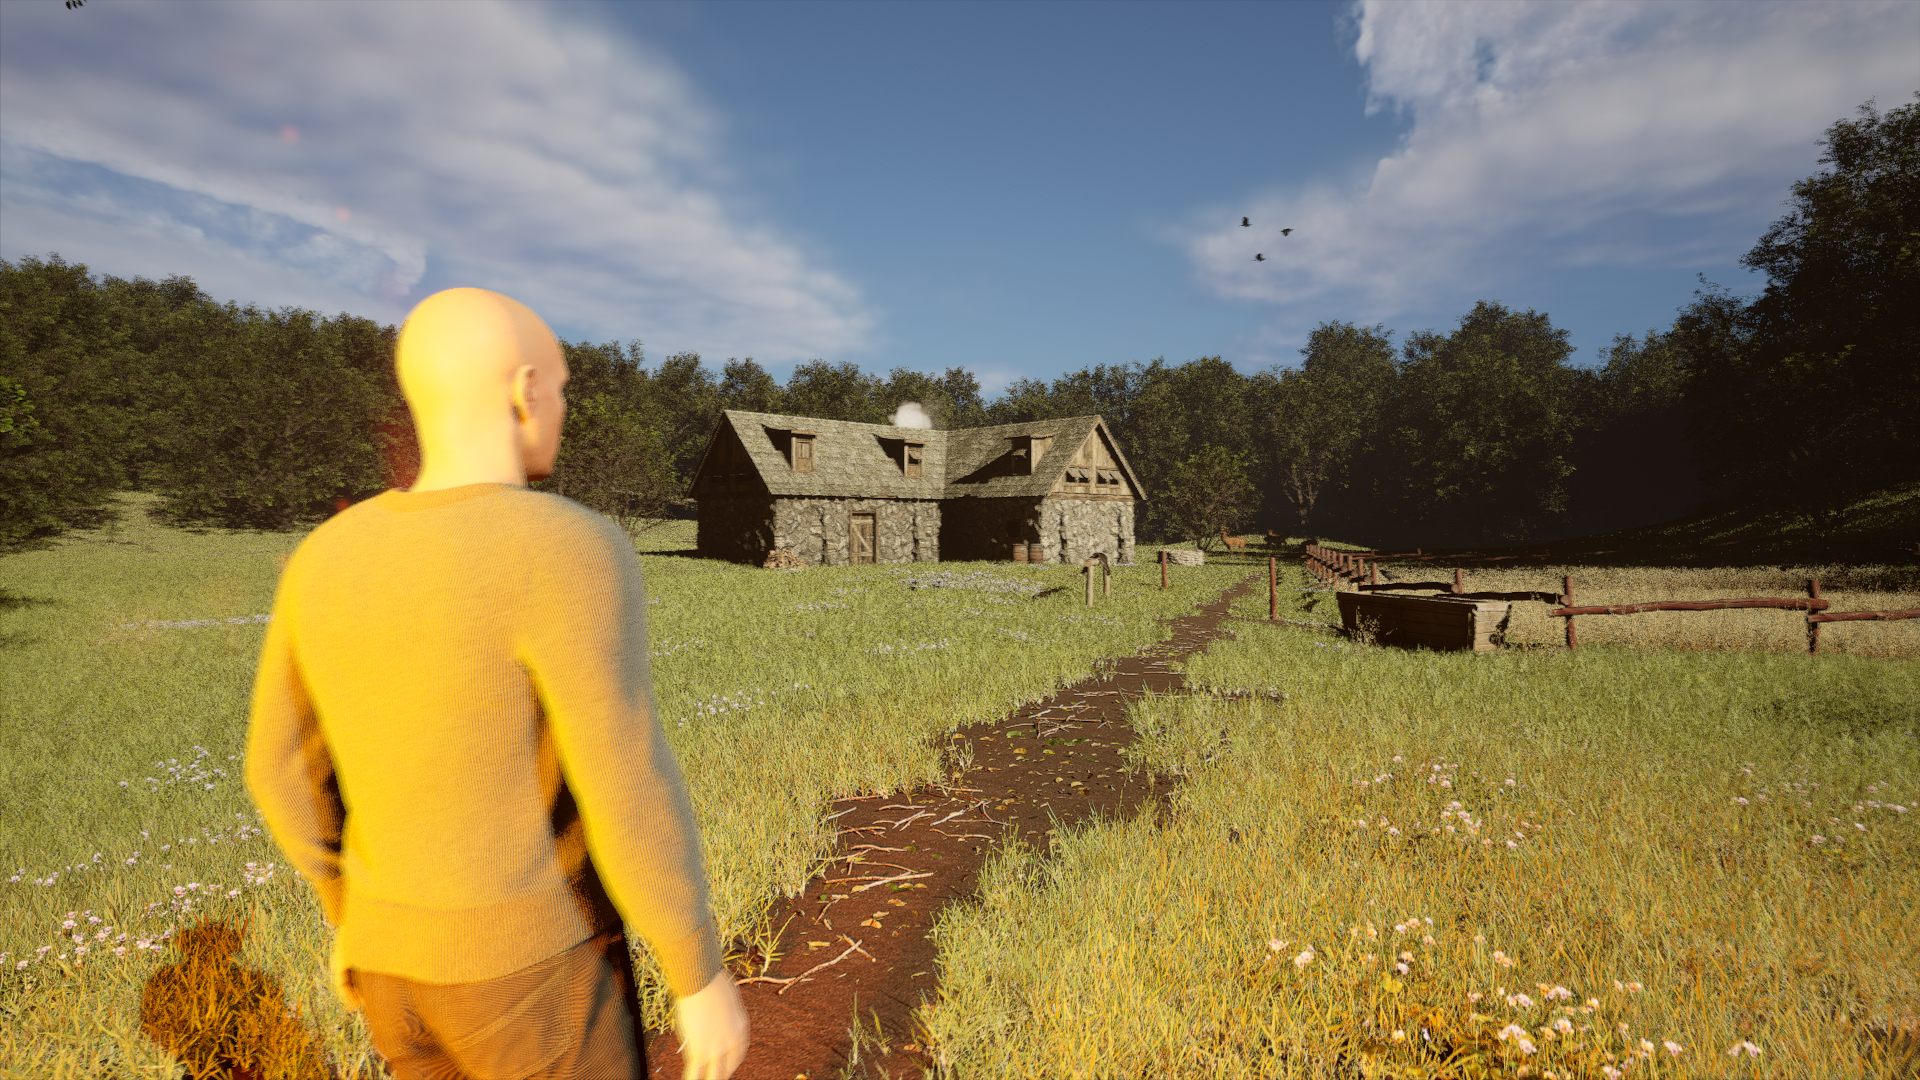
An early export of the farm scene with placeholder motion capture demonstrates the issue with the feet quite well, as seen the feet are floating above the ground. This also exposed another issue I had not run into yet, the pixilation of the clouds. This at first appeared to be caused by using too small a sample count when rendering, aka not enough passes of the scene to build the detail, but luckily for the render time this ended up being false. A small setting within the volumetric cloud itself increased the render detail and volume to maintain the clouds quality at much lower render times which was a thankful result.
Another issue was that on certain file types with compression I would get some off artifacts in the sky, causing it to appear darker than what it actually was, and making the actual blue sky transparent. Switching from jpeg to png seemed to have fixed the issue which was luckily a very simple switch.
Another issue to work around was extremely evident after letting the whole sequence render overnight. The next morning upon viewing the rendered animation, there was an issue with the characters hair disappearing seemingly random with no evident fix. The model was set to the highest quality and the camera was not operating too close or too far to be causing this kind of issue so often and so randomly.
As it turns out the solution to this issue was in a software update which had been pushed out 2 days prior to the render that hadn’t been installed due to the program being left open. A quick install of the update and another afternoon and night of rendering and the sequence came out perfectly with no hair astray.
But the rendering issues were not done, the next evident one changed the city screen from having moving traffic. In the viewport and everything I had done in the application had the cars and buses moving through the scene with moving tyres and everything functioning correctly, but upon rendering the wheels would detach and stay fixed in there starting position, with the car body’s floating through the scene. This was obvious unsatisfactory and could not be resolved so all the vehicle animation was removed and another render of the city sequence was produced.
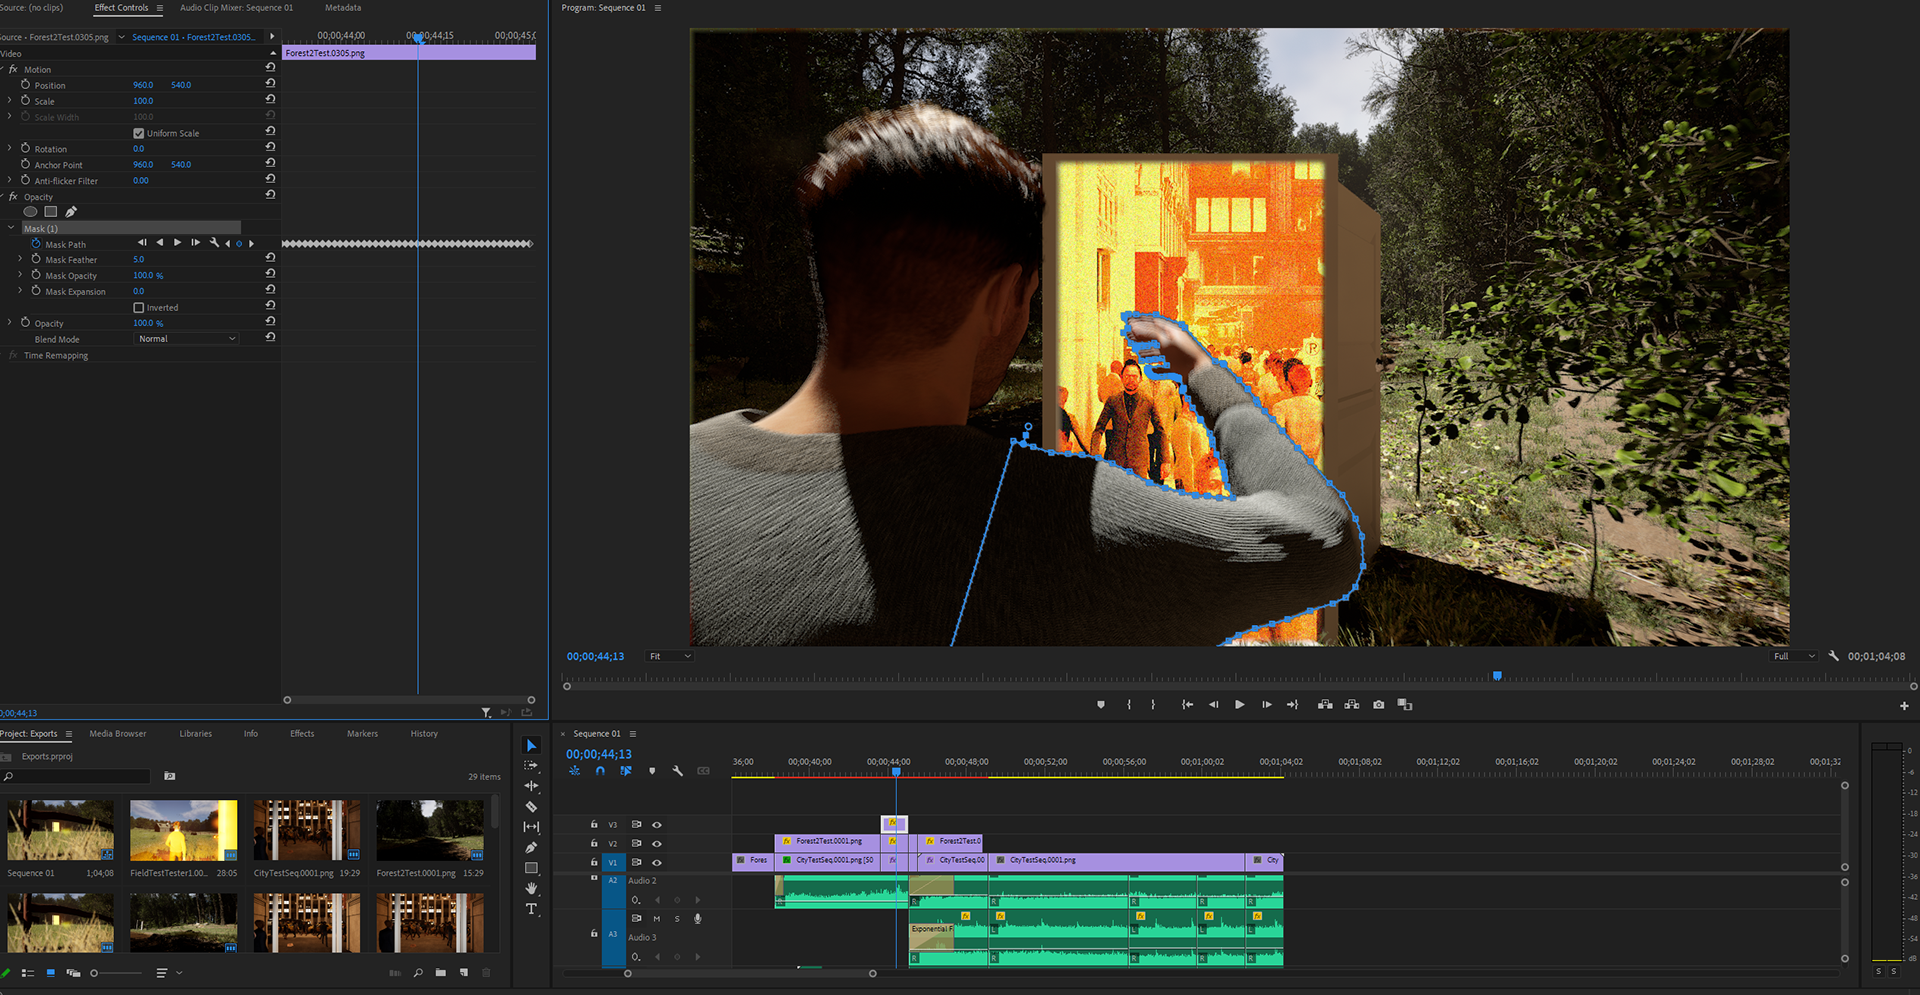
Finally, the process of adding sound and merging the scenes together in Adobe Premier Pro. Sound were majority sourced from the website ZapSplat, while the overall scene compositing and editing was done by myself. This saw my second rotoscoping effort in the transition between the forest and city scene, masking the characters arm over the top of the city as it appears through the doorway. This was a slightly time-consuming process but a transition I really wanted to pull off seamlessly. There is a small error on the left in which you can see only the characters eyes and head move left across the frame blending into the full-bodied character that walks through the door, but with the audiences focus on the centre of the screen and how tedious it would be to go back and retime the whole sequences animation to better line up, I've left it as is.
Finally, my sequence was merged together to seamlessly transition into James’s sequence via a camera pan. The overall project was presented Wednesday 01/06 for feedback from our peers, with my own personal feedback being regarding City shot 2 where the character goes from being shocked at almost hitting a person walking past to turning and walking towards the door. I do agree that this sequence of animation could be a bit cleaner, but the time frame hasn’t allowed for the rerecording of motion capture and rendering of the sequence. This may end up being a change made for my own personal copy of the animation in time to use as portfolio work.
This project fell well behind its projected plan, both due to the technical difficulties experienced and the work required for other subjects mixed in. While not quite reaching the initial desired quality or quantity of work, I am still quite happy at the end of the day how much further I managed to push my skills in this project and attempt new methods such as motion capture and new software such as Motion Builder and Unreal Engine 5. The overall animation as a whole is very close to what we envisioned as a group and we are quite happy with what we have managed to push each other to achieve in the timeframe we worked in with it being our first time operating as a group.
My 1 minute sequence can be viewed below without sound.
Cheers for reading.